Appearance
Installation & Setup for MacOS
Navigation
Wireshark Installation
Download the latest stable version of Wireshark for macOS
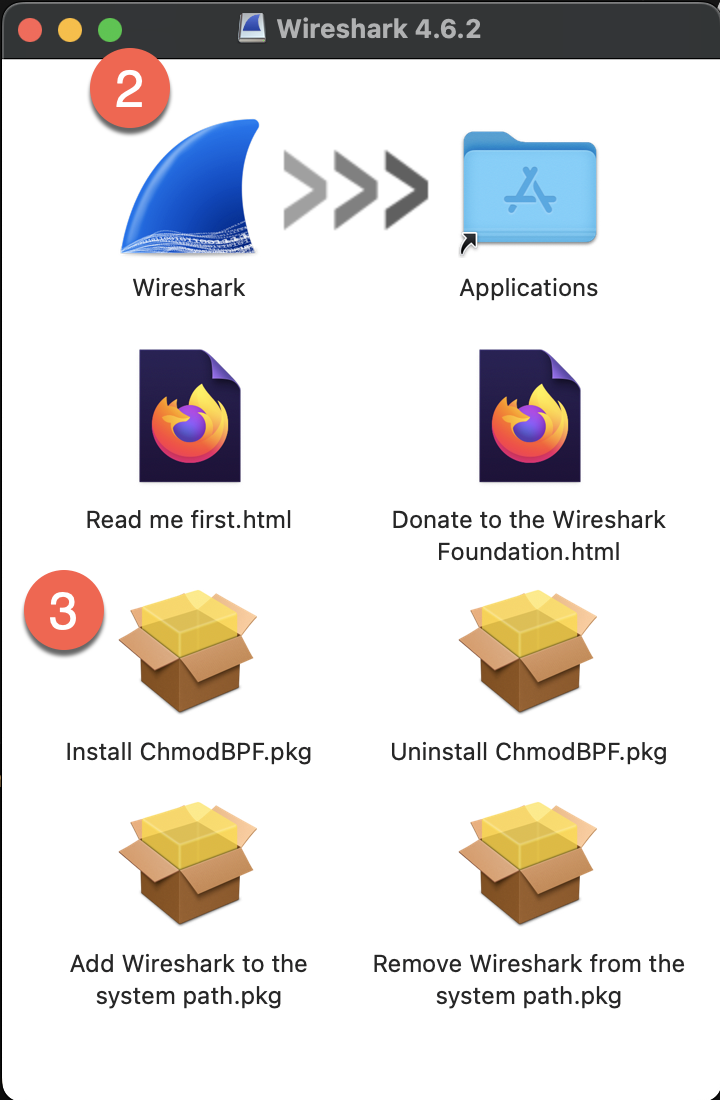
Open the downloaded DMG file and drag Wireshark to the Applications folder
Install ChmodBPF to allow packet capture without root privileges
GNS3 Installation
Download GNS3 Version 3.0.5 from GitHub

Open the downloaded DMG file and drag GNS3 to the Applications folder
UTM Installation
Download and Install UTM
Install UTM by dragging it to the Applications folder
Launch UTM and grant necessary permissions when prompted
GNS3 VM Setup
Download and Extract GNS3 VM Image
- Download GNS3 Version 3.0.5 KVM Image and extract it
- You should see two disk files:
GNS3 VM-disk001.qcow2andGNS3 VM-disk002.qcow2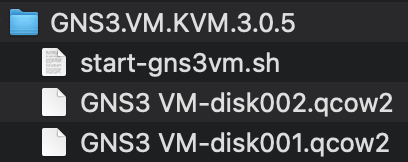
- You should see two disk files:
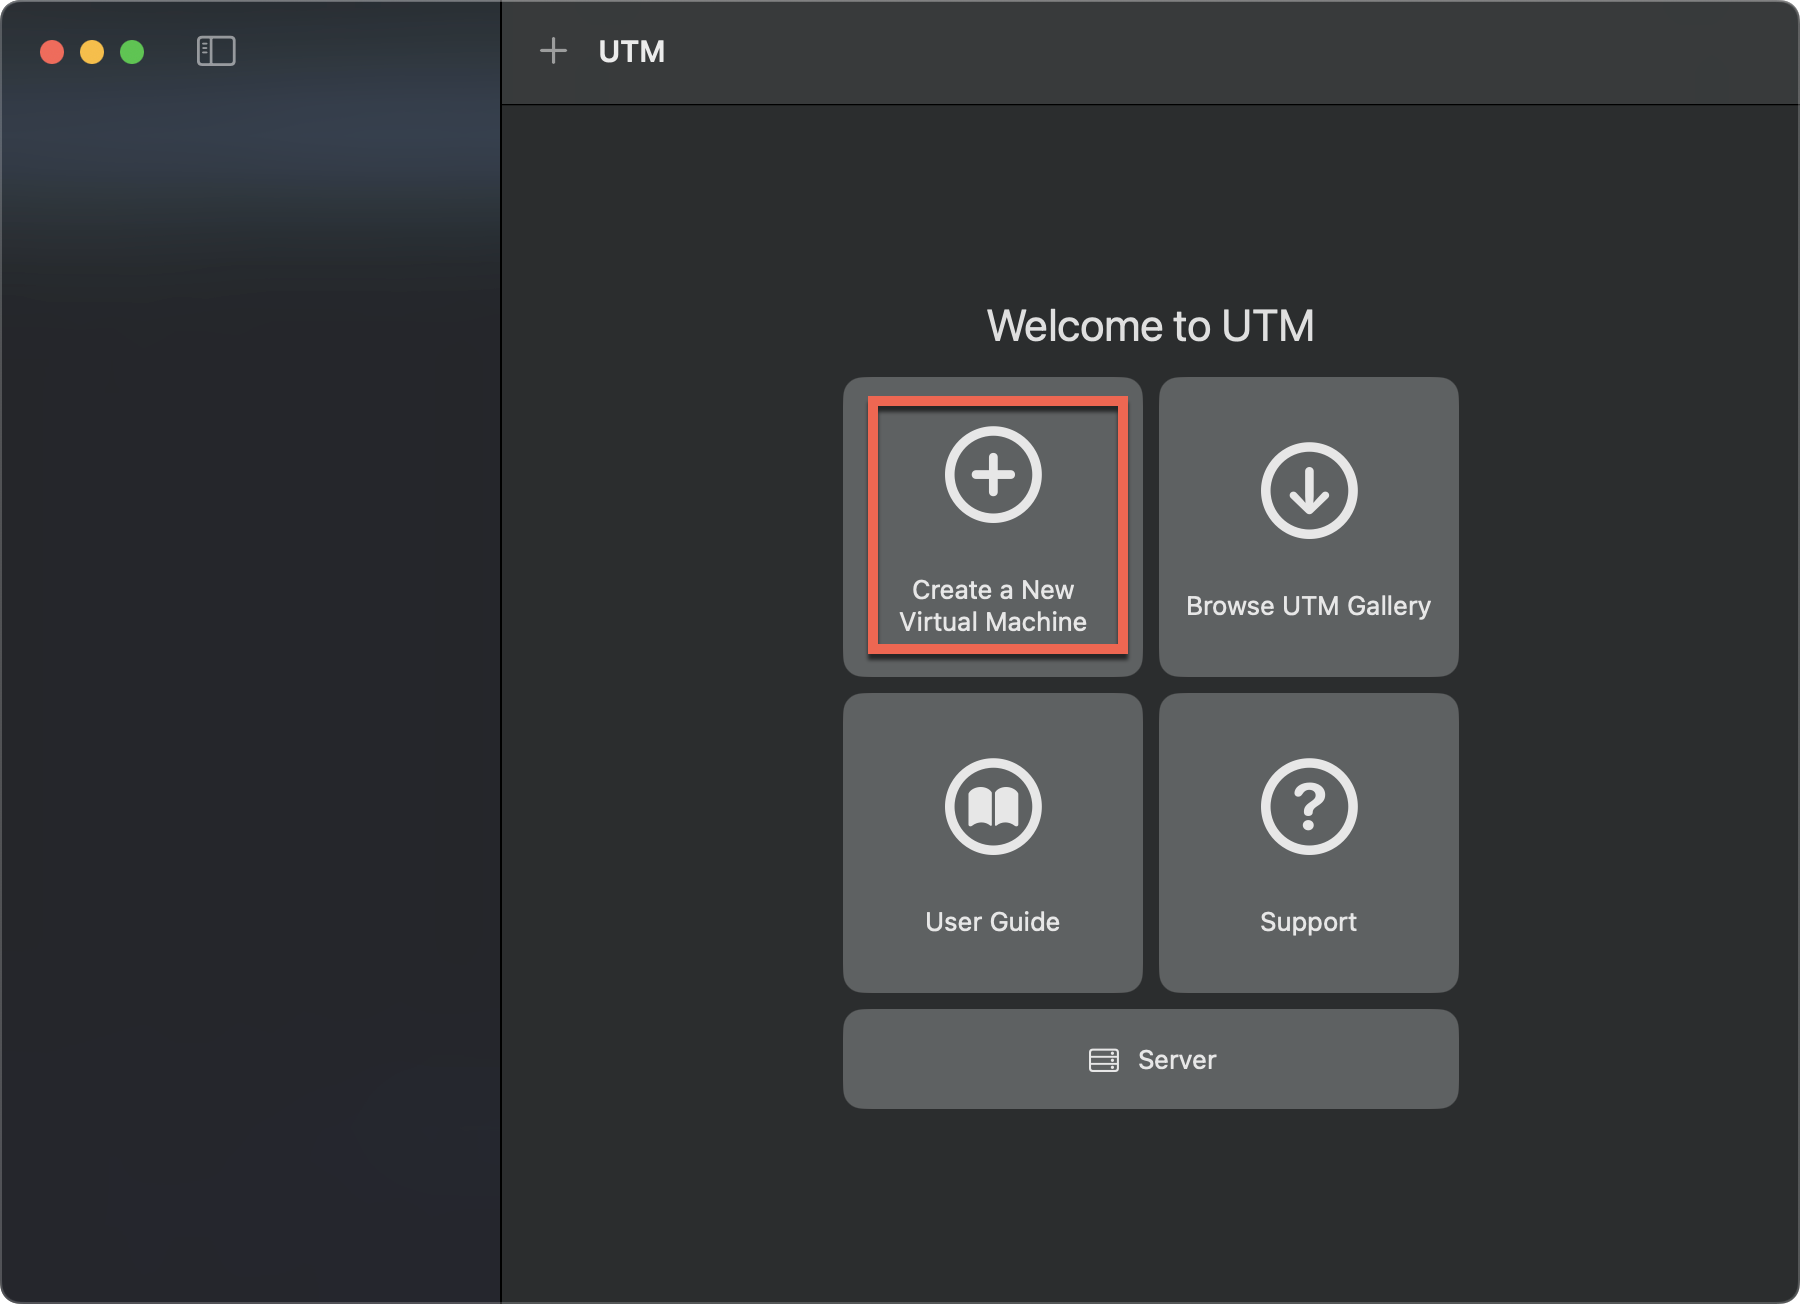
Create VM in UTM
Open UTM and click "Create a New Virtual Machine"
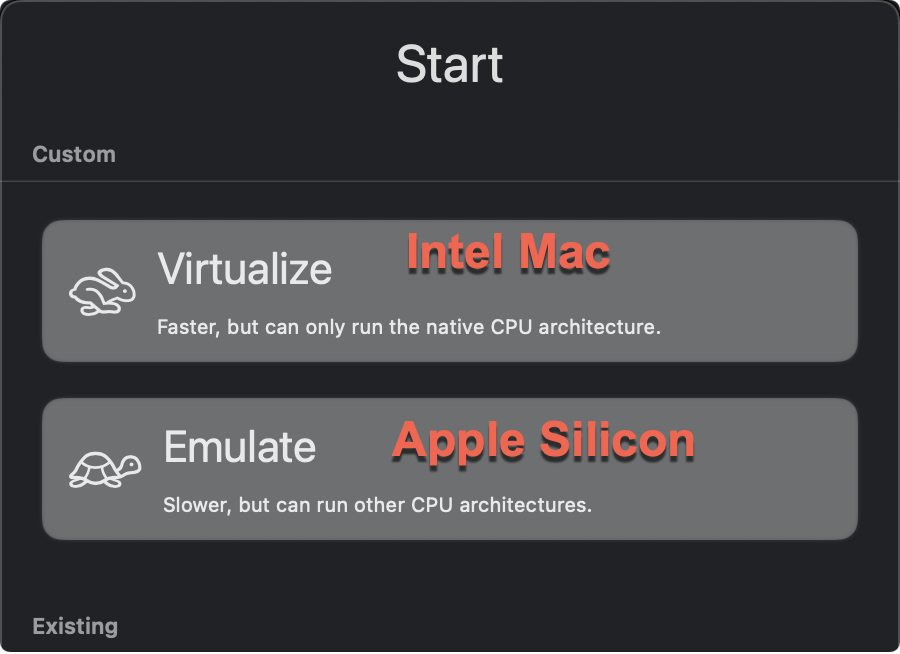
Select mode base on your CPU Arch
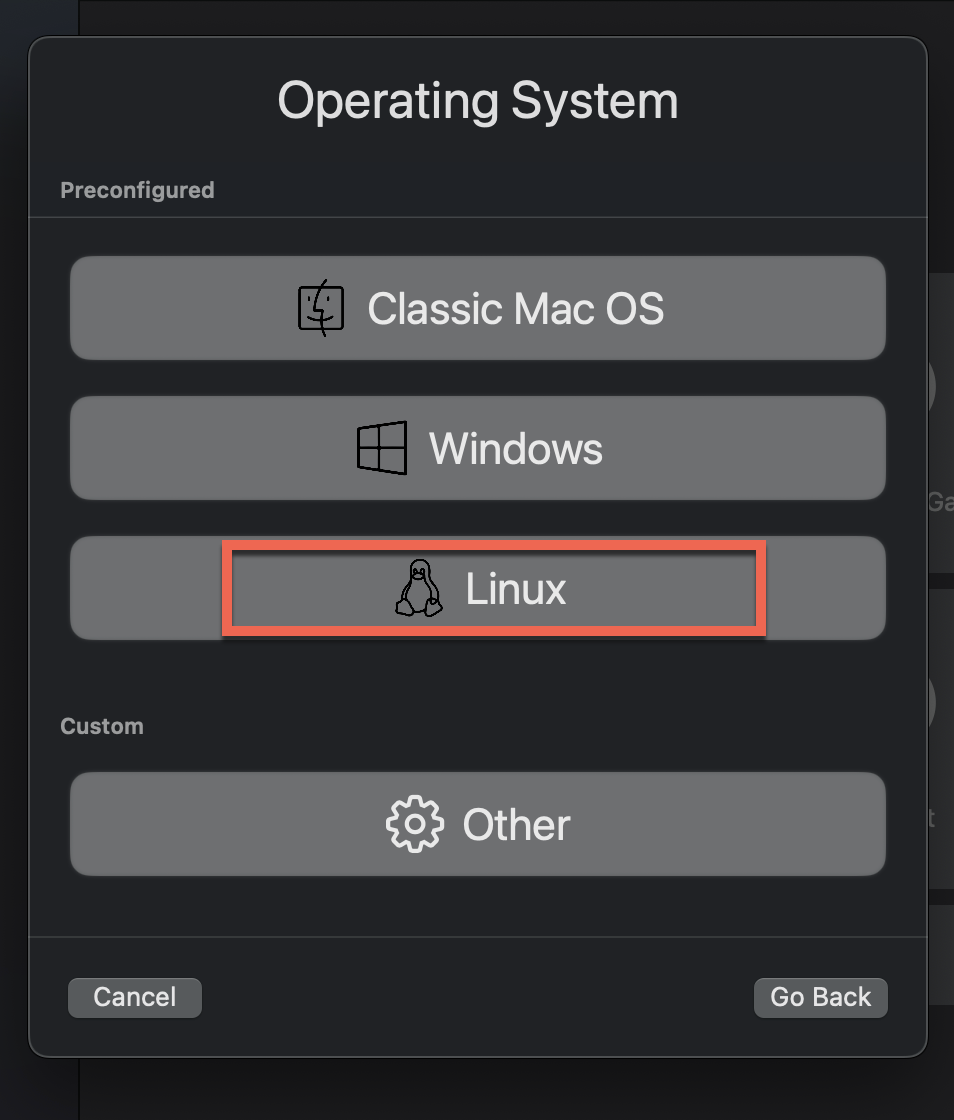
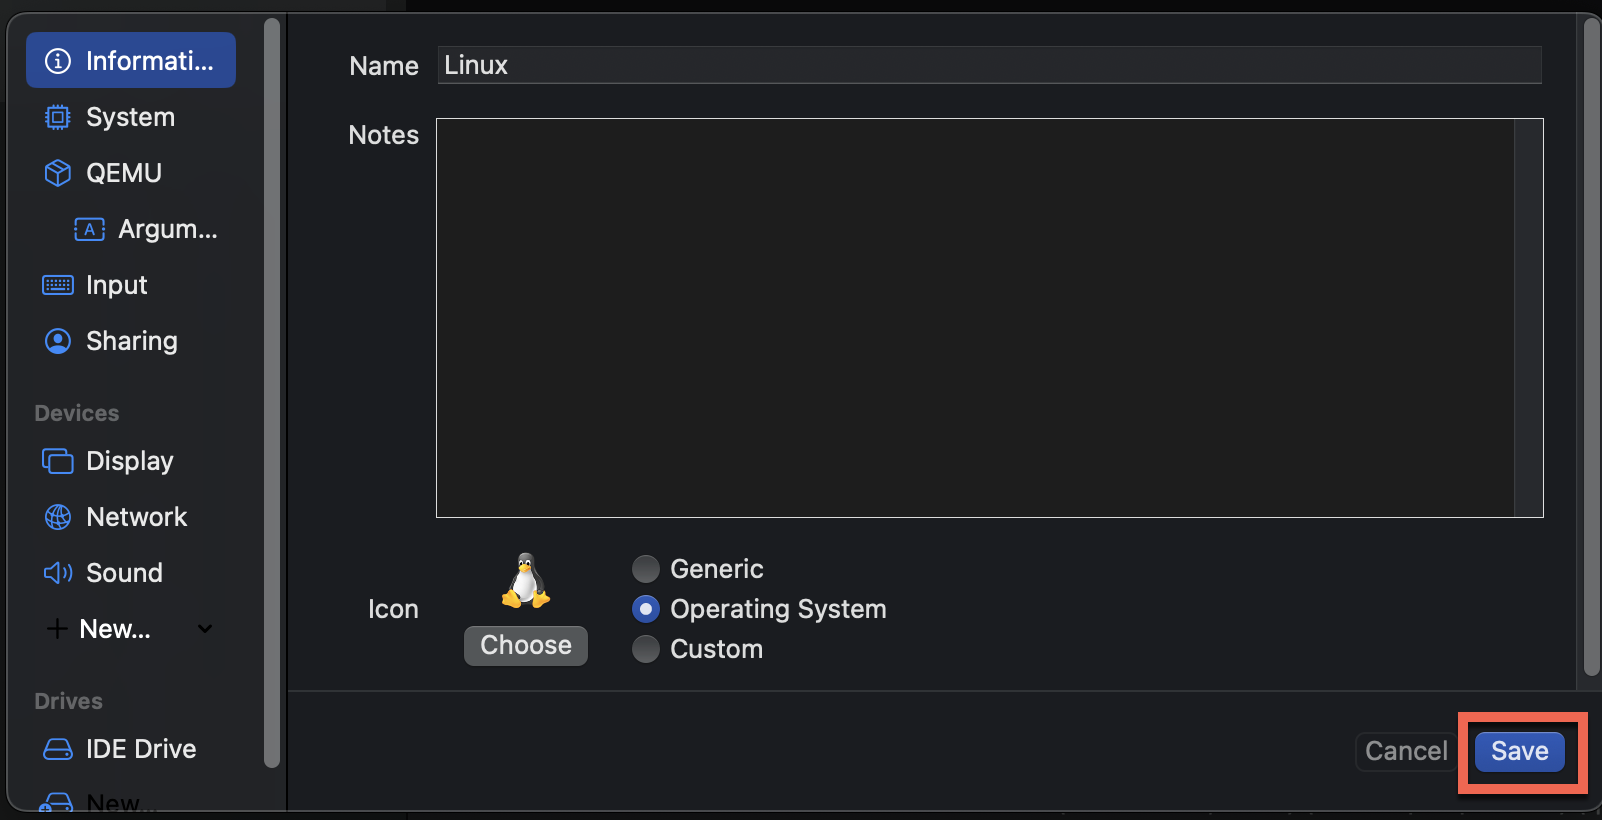
Select "Linux" as the guest operating system
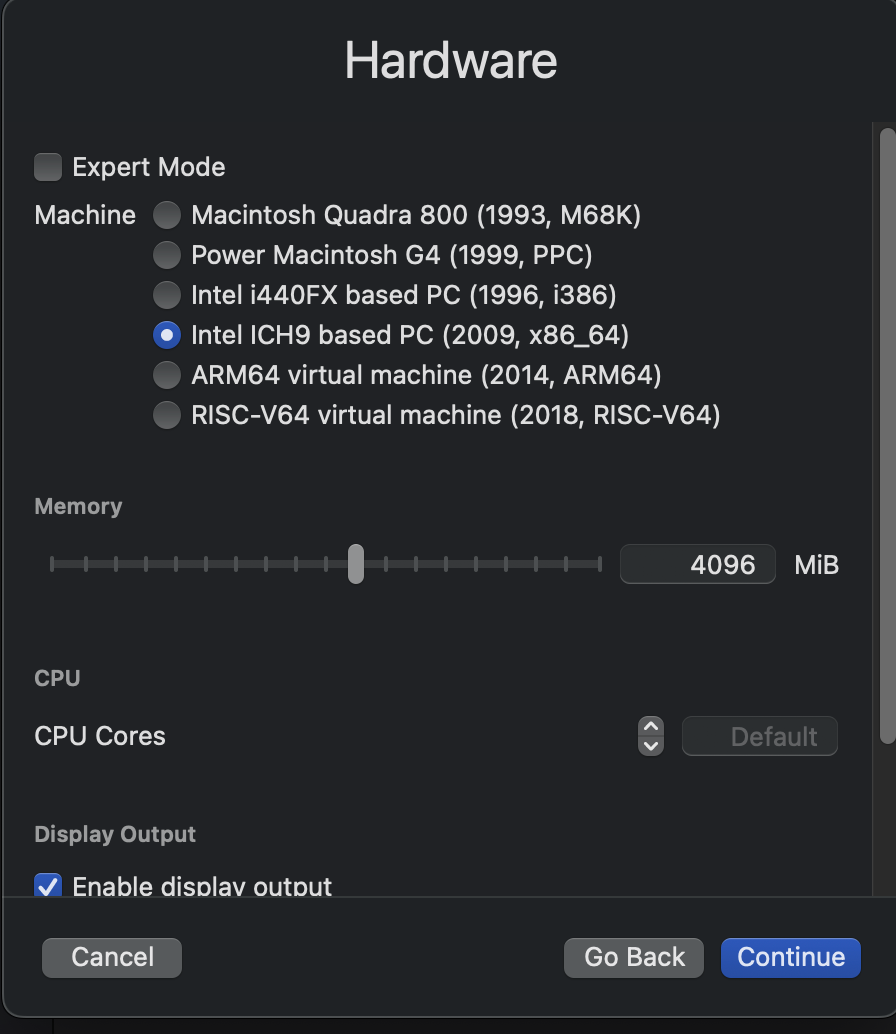
Select "x86_64" as the CPU architecture
Select "Import existing drive" and click "Browse..." to import
GNS3 VM-disk001.qcow2. We will add the second disk drive later.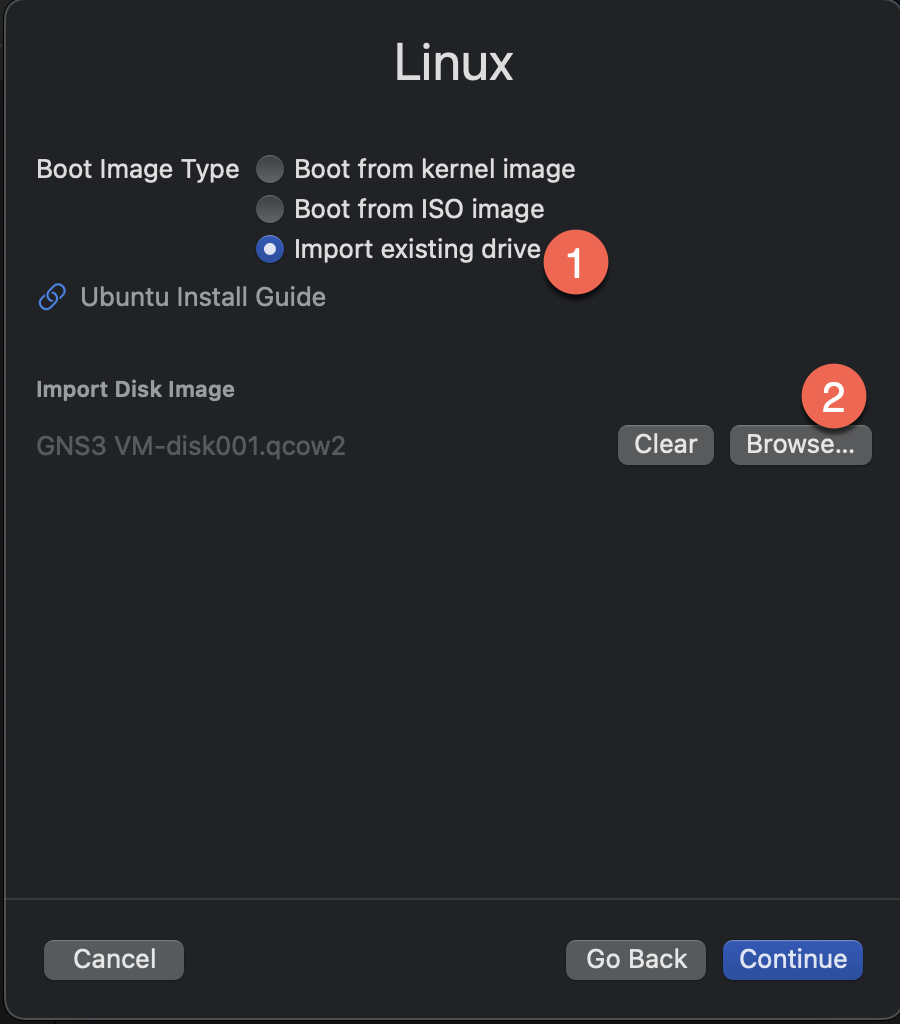
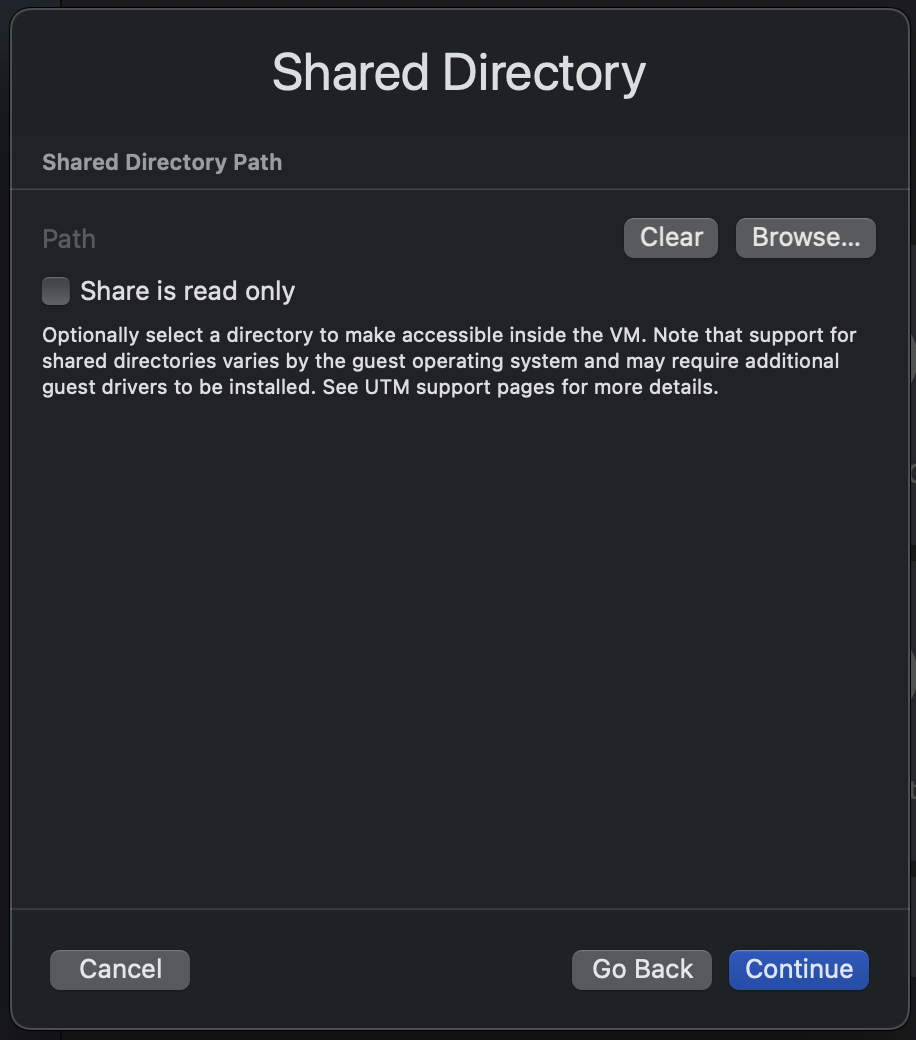
(Optional) You can create a shared directory here to share files between host and guest
On the summary page, name the VM (e.g., "GNS3 VM") and check "Open VM Settings" to add the second disk

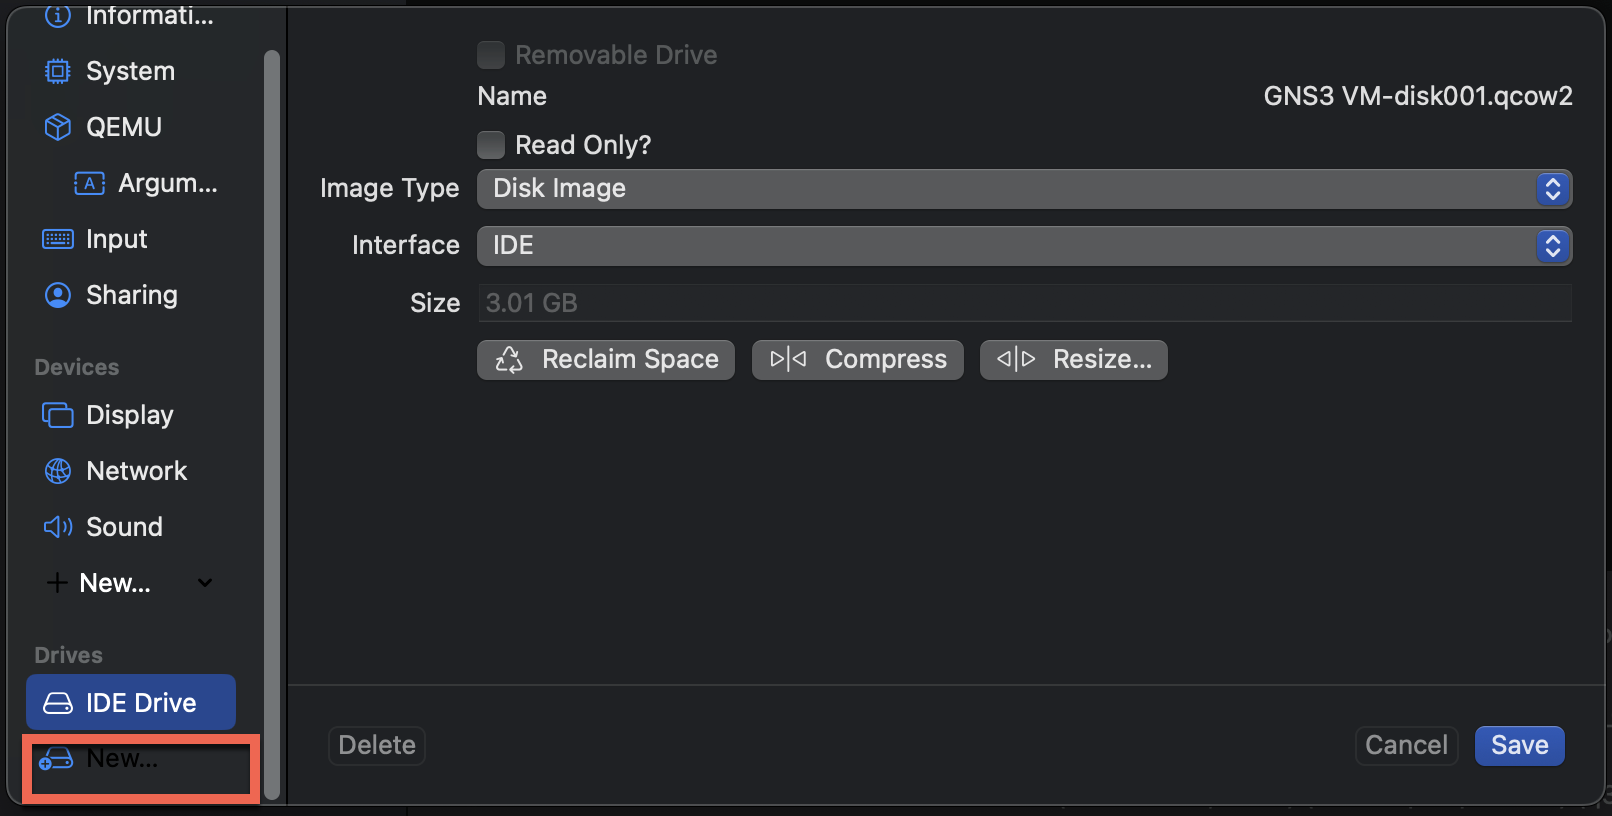
Configure VM Settings
In the settings page, Click "New..." in the Drives section to add the second disk
Import
GNS3 VM-disk002.qcow2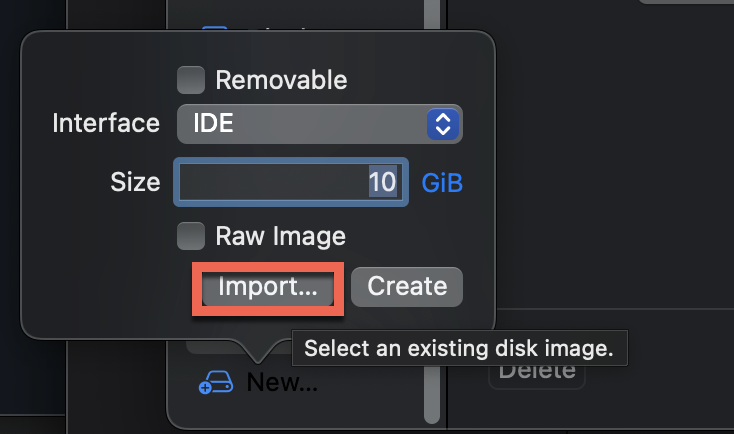
Save the configuration
Start the VM
Start the VM and wait for it to boot
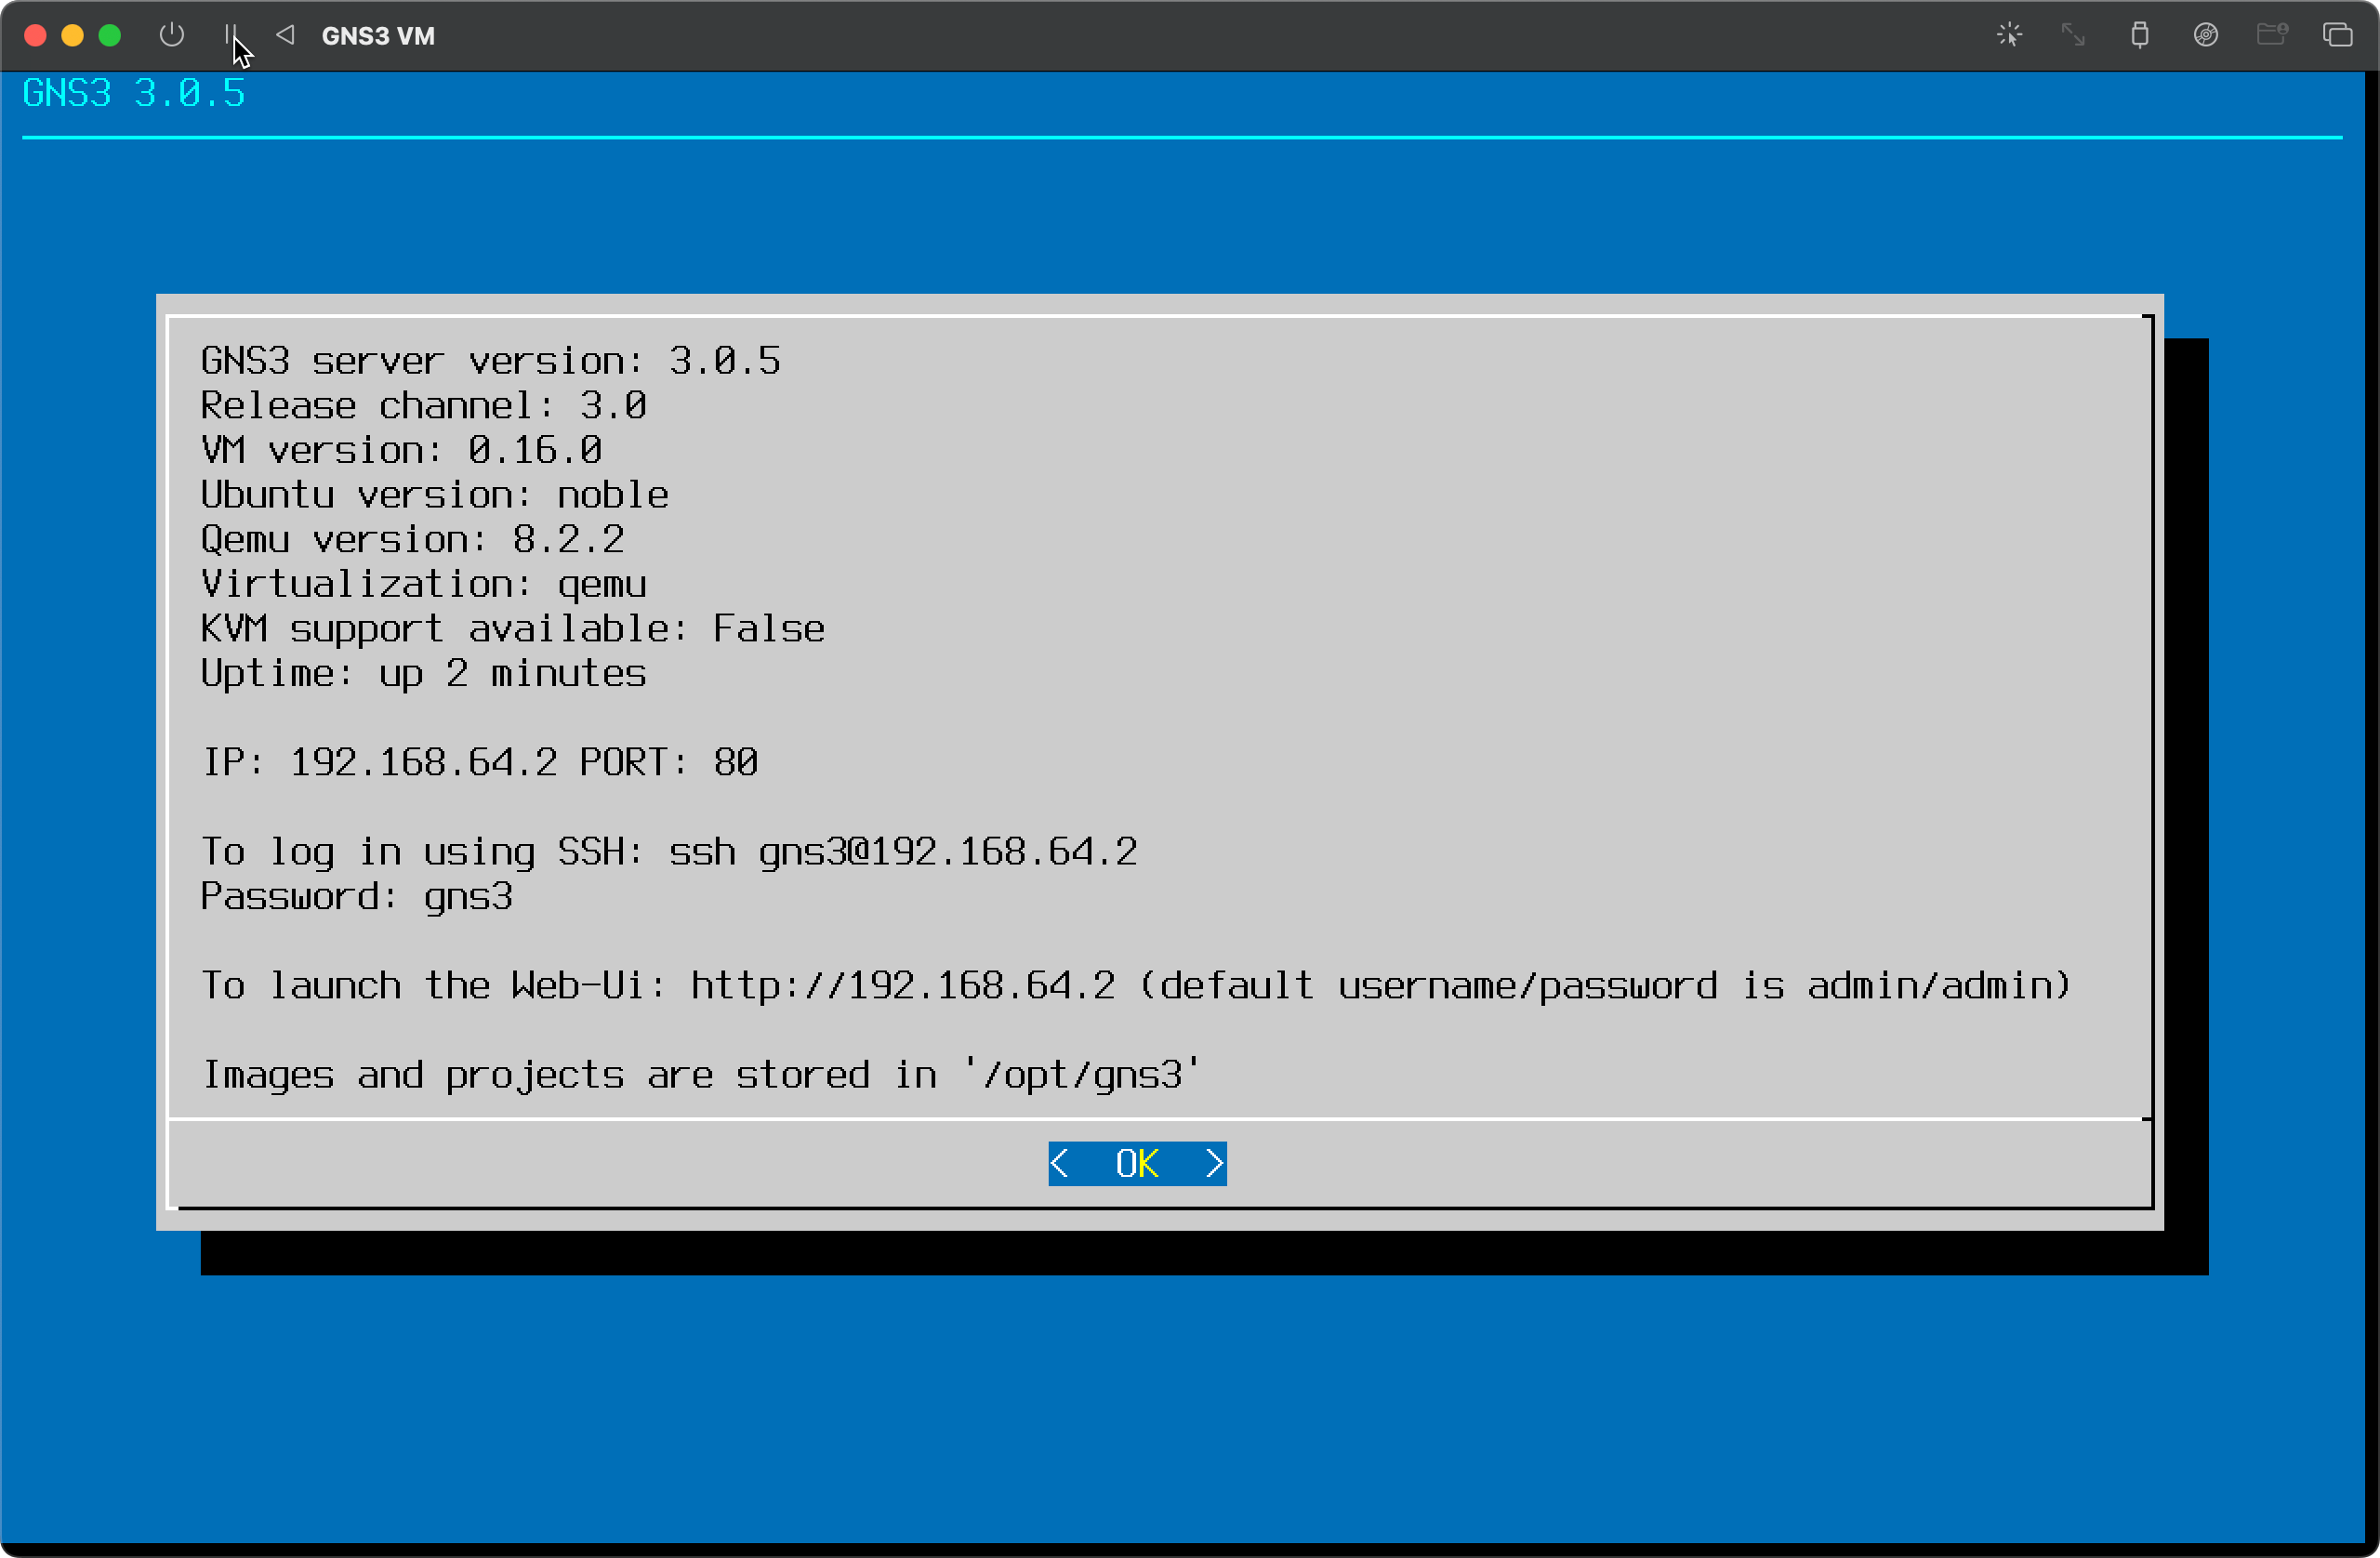
Once booted, you should see the GNS3 VM console with network information (IP address, port, etc.)
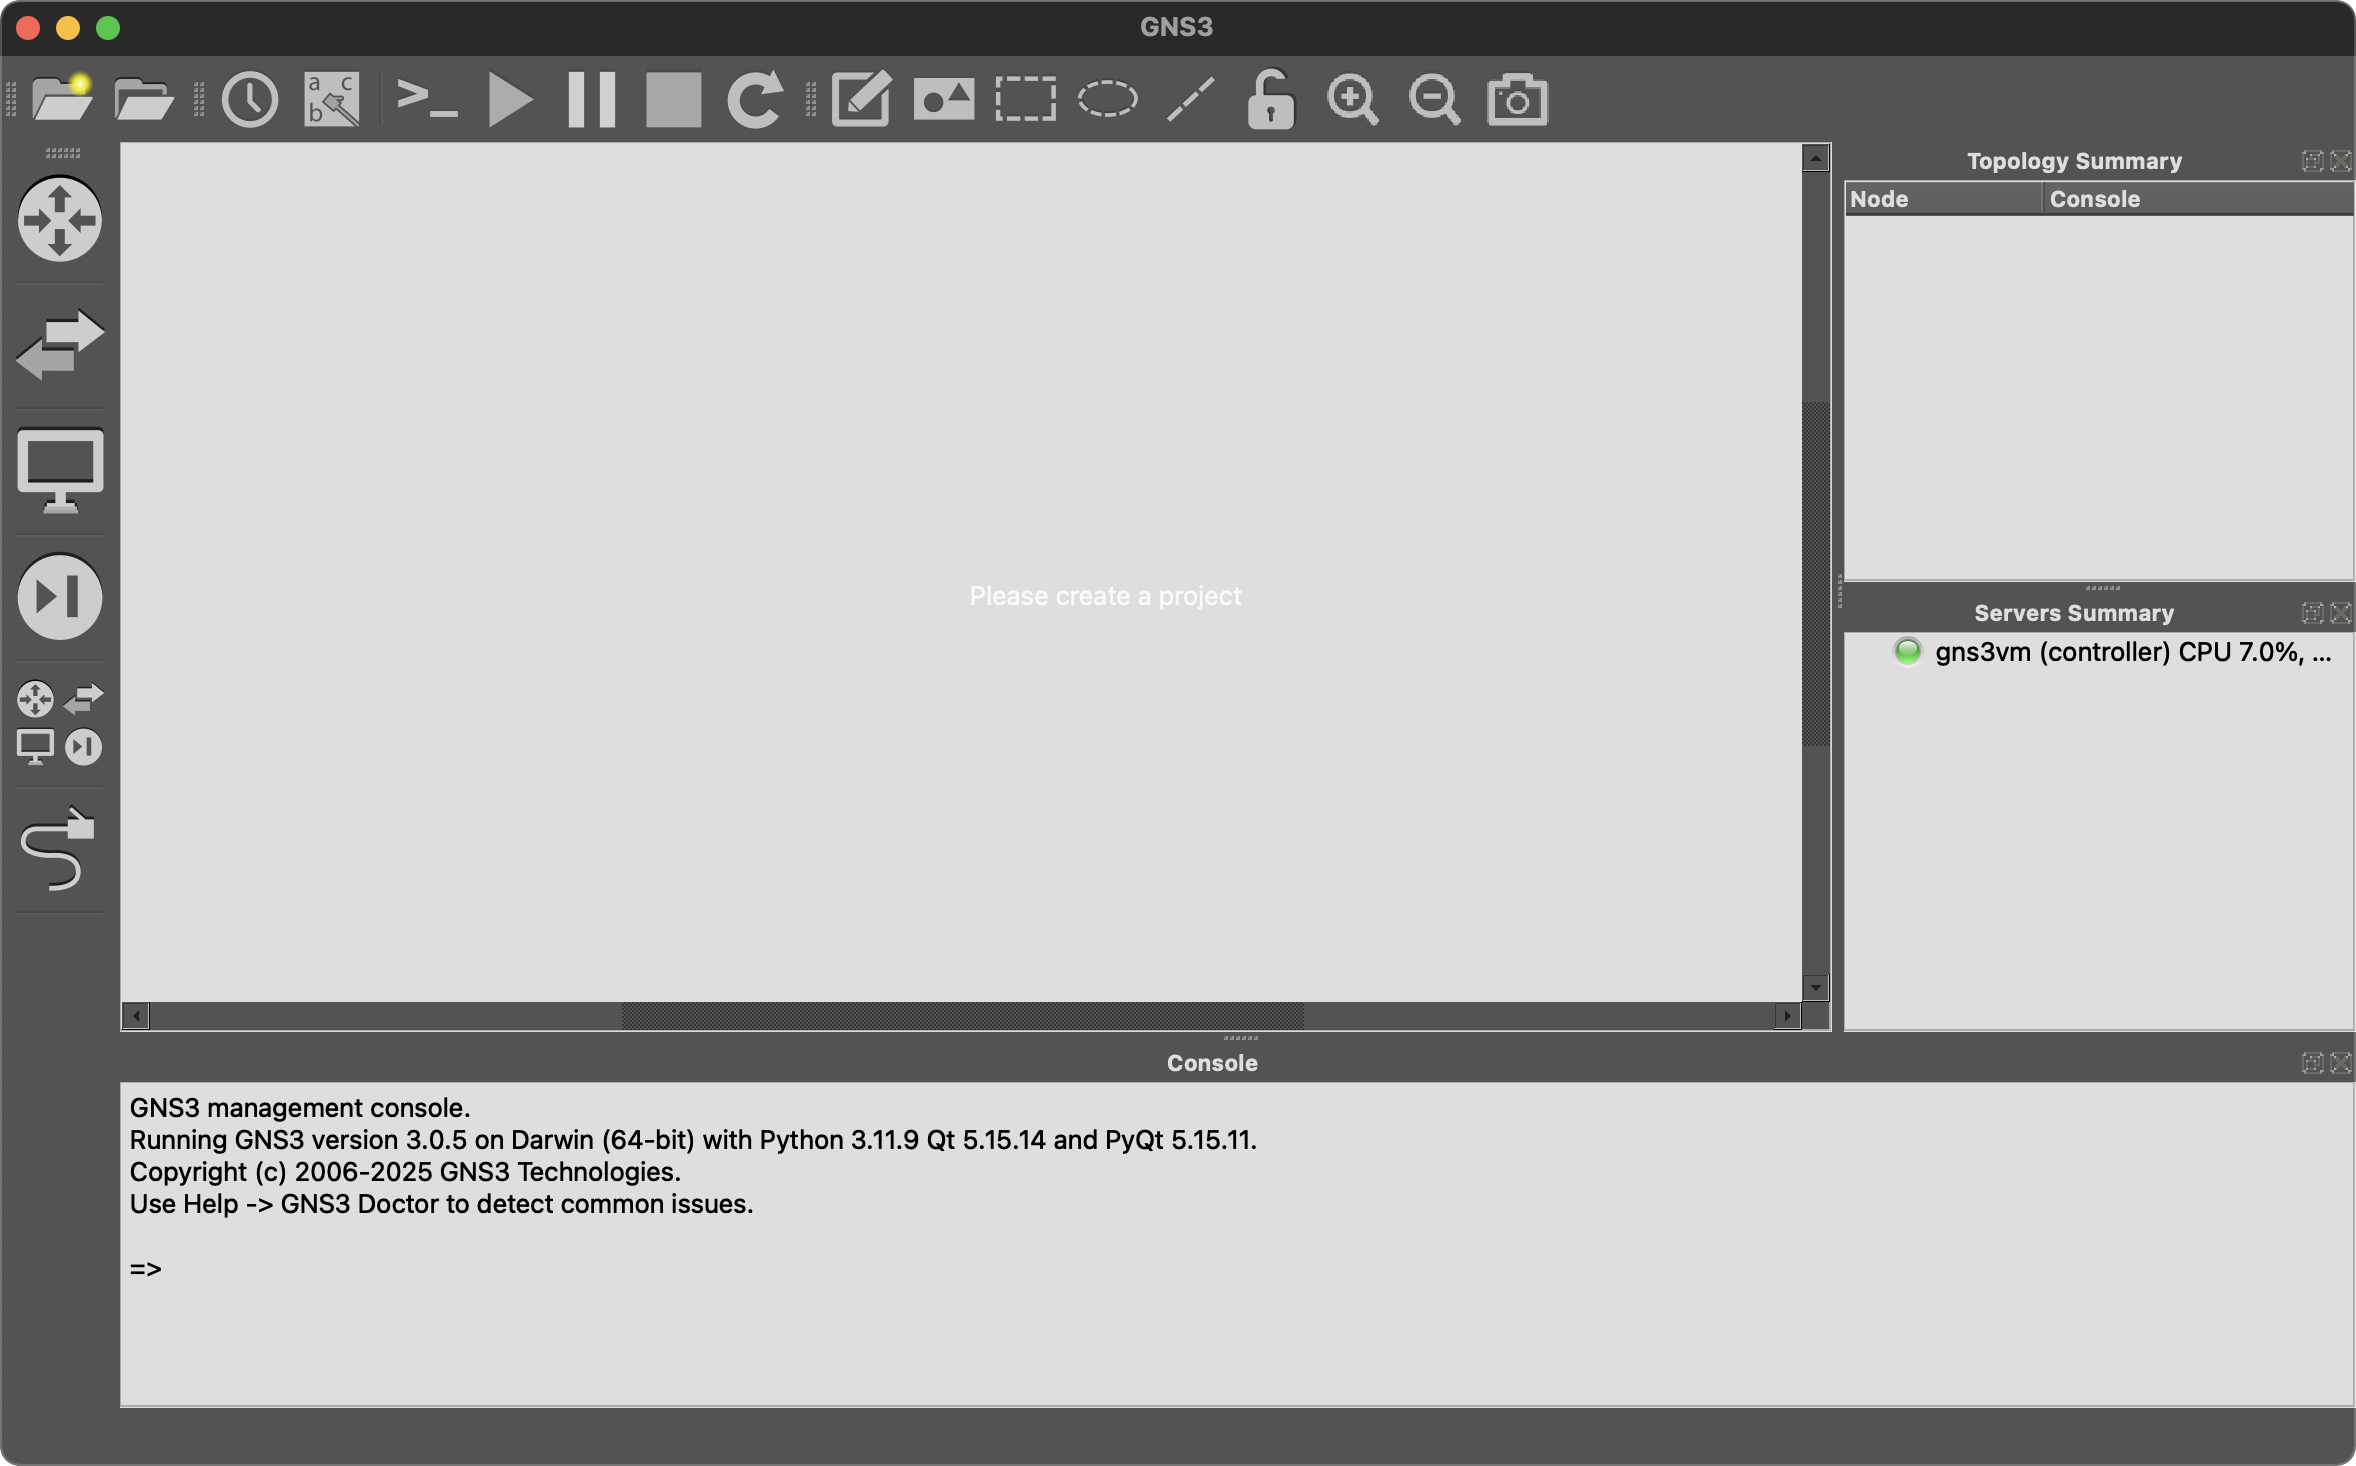
Launch GNS3
Launch GNS3 application. On first launch, the Setup Wizard will be shown
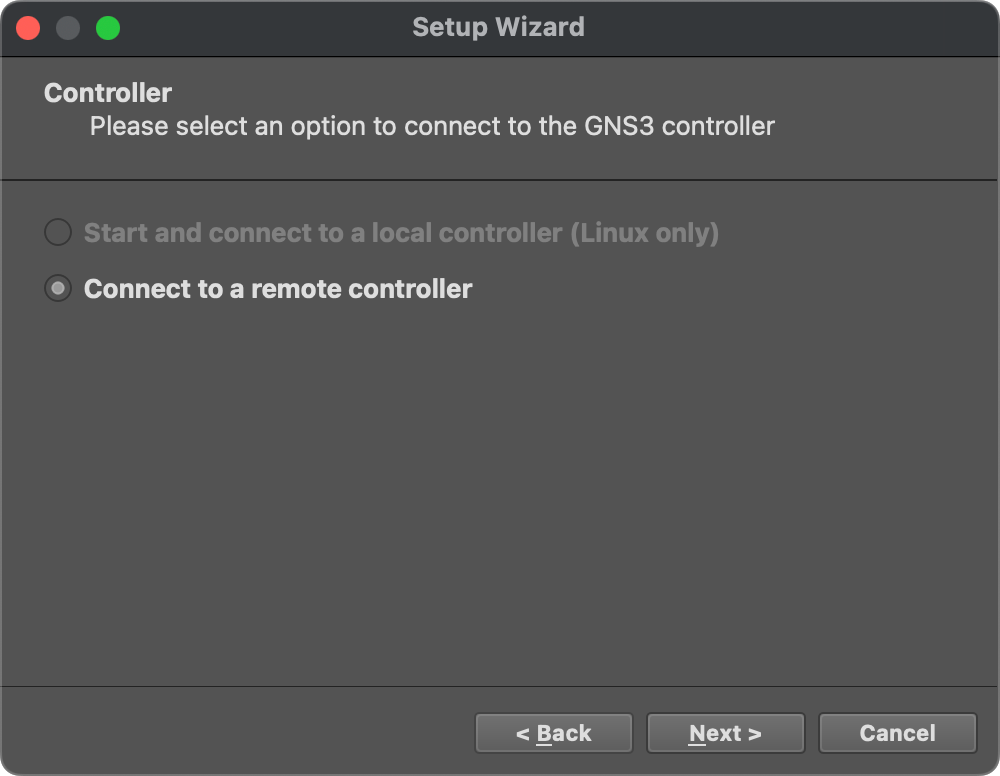
Configure the GNS3 VM connection settings
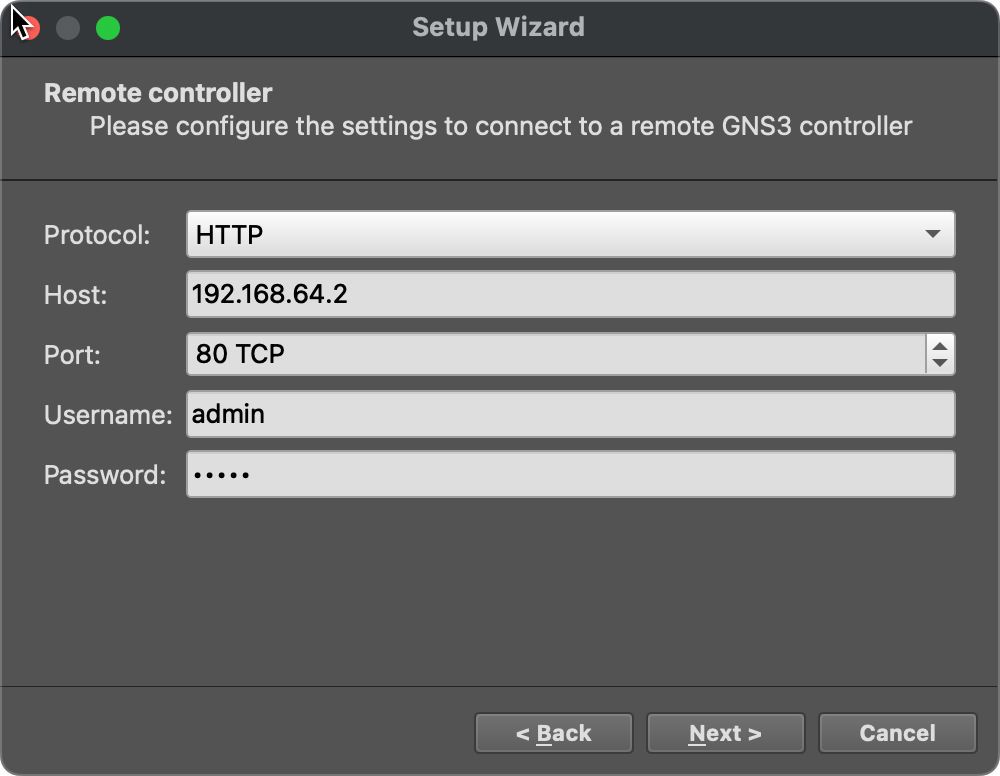
Complete the setup and you're ready to use GNS3!