Appearance
Installation & Setup for Windows
Navigation
GNS3 Installation
Download GNS3 Version 3.0.5 from GitHub
- Download the Windows installer (
.exefile)

- Download the Windows installer (
Run the GNS3 installer and follow the installation wizard
- Accept the license agreement
- Choose the installation directory (default is recommended)
- Select components to install (keep all default selections)

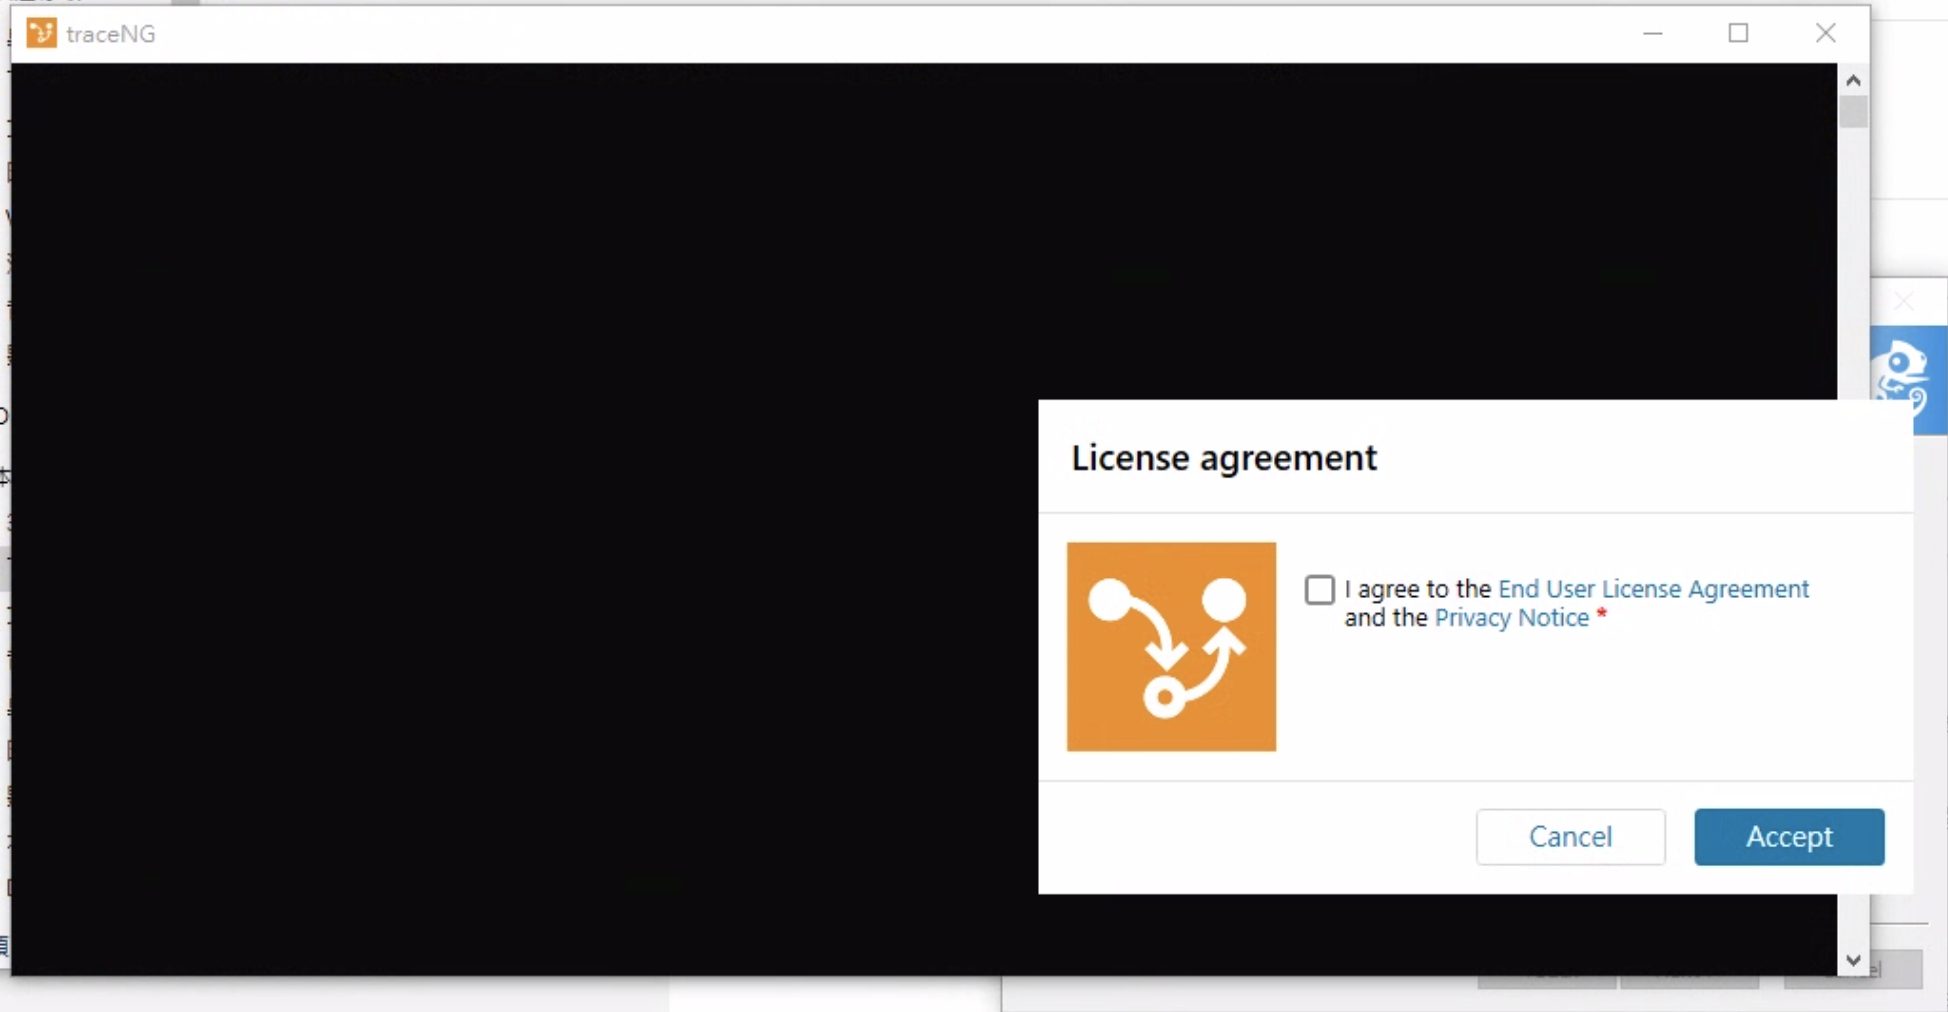
Skip the TraceNG agreement when prompted
- Click "Cancel" if the TraceNG agreement window appears during installation
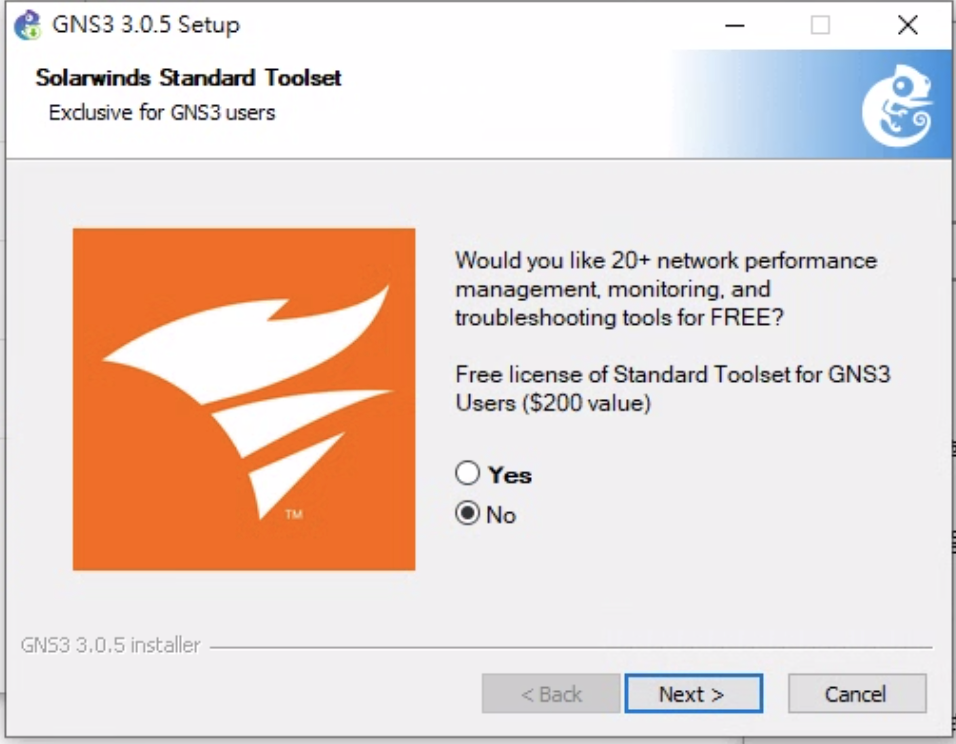
Decline SolarWinds integration
- Select "No" or "Skip" when asked about SolarWinds (this is an optional third-party service)
VirtualBox Installation
Alternative Virtualization Software
While this guide uses VirtualBox (free and open-source), GNS3 also supports VMware Workstation Pro and Hyper-V.
Download and install VirtualBox
- Download the Windows hosts installer
- Run the installer and follow the installation wizard
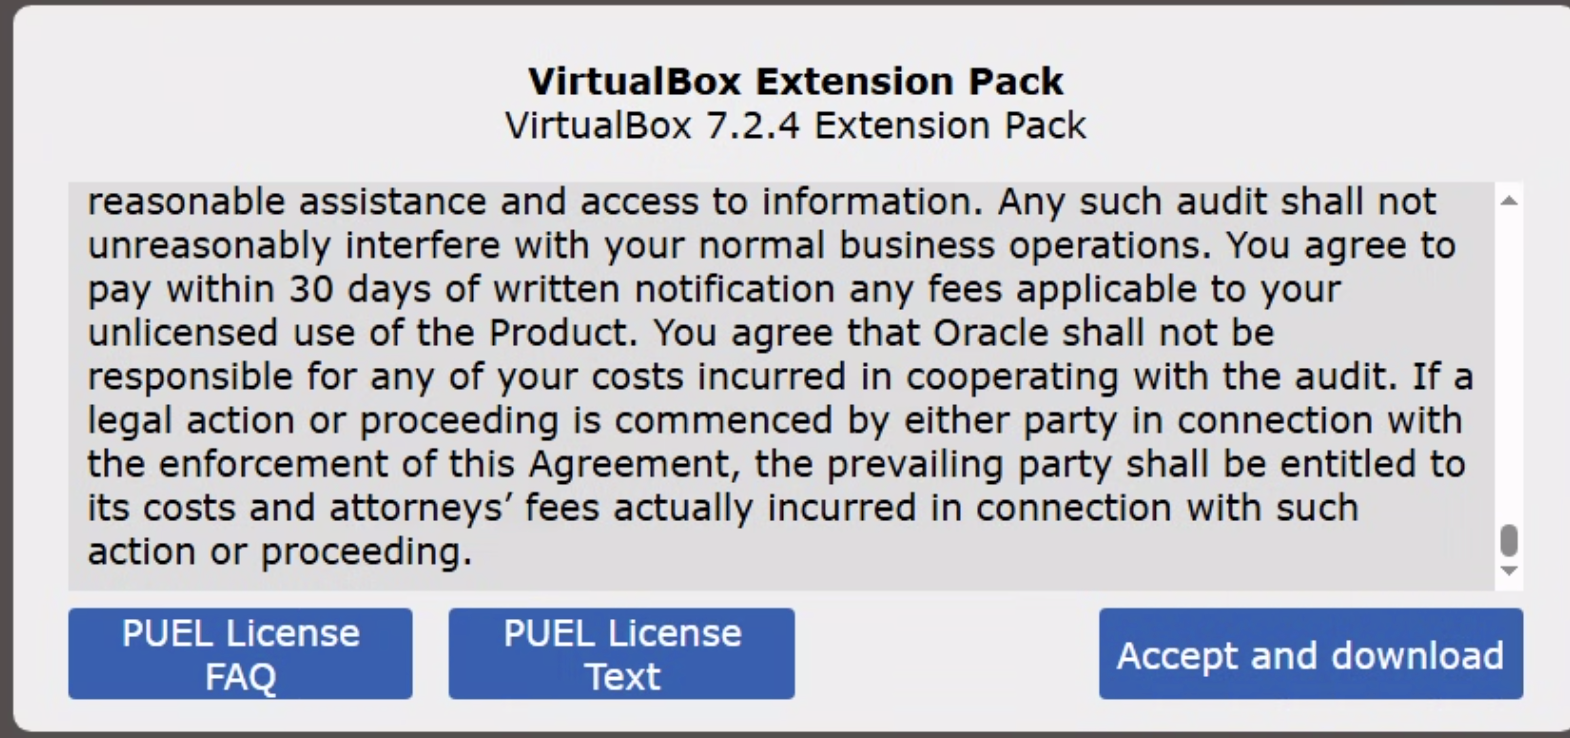
Download and install the VirtualBox Extension Pack (optional but recommended)
- The Extension Pack provides additional features like USB 2.0/3.0 support and better performance
GNS3 VM Setup
Download and Import GNS3 VM Image
- Download GNS3 Version 3.0.5 VirtualBox Image and extract the downloaded ZIP file
- After extraction, you should see an OVA file:
GNS3 VM.ova
- After extraction, you should see an OVA file:
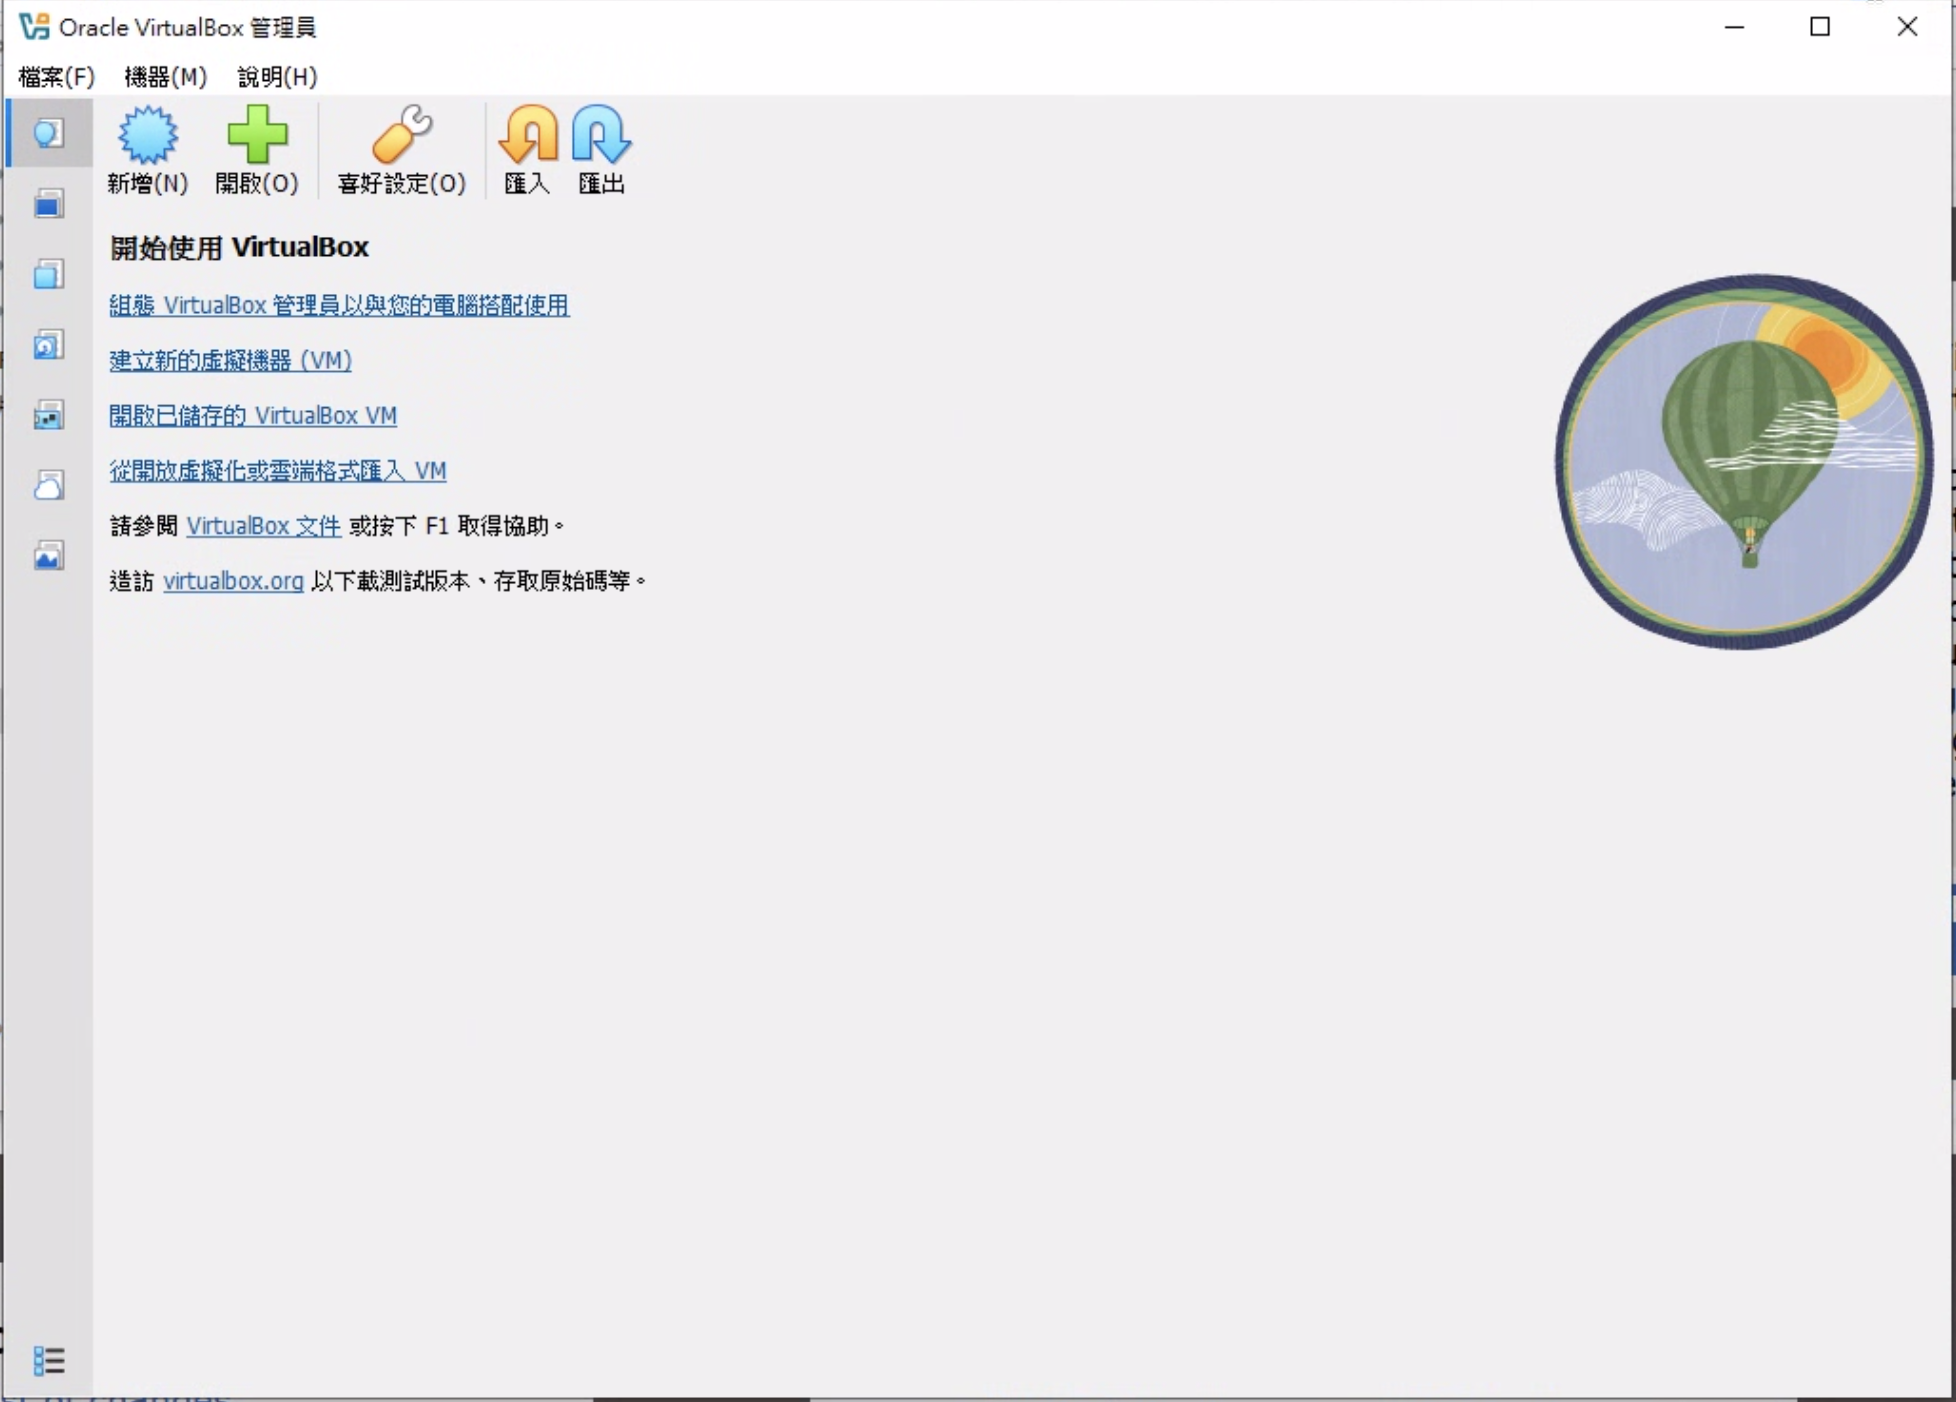
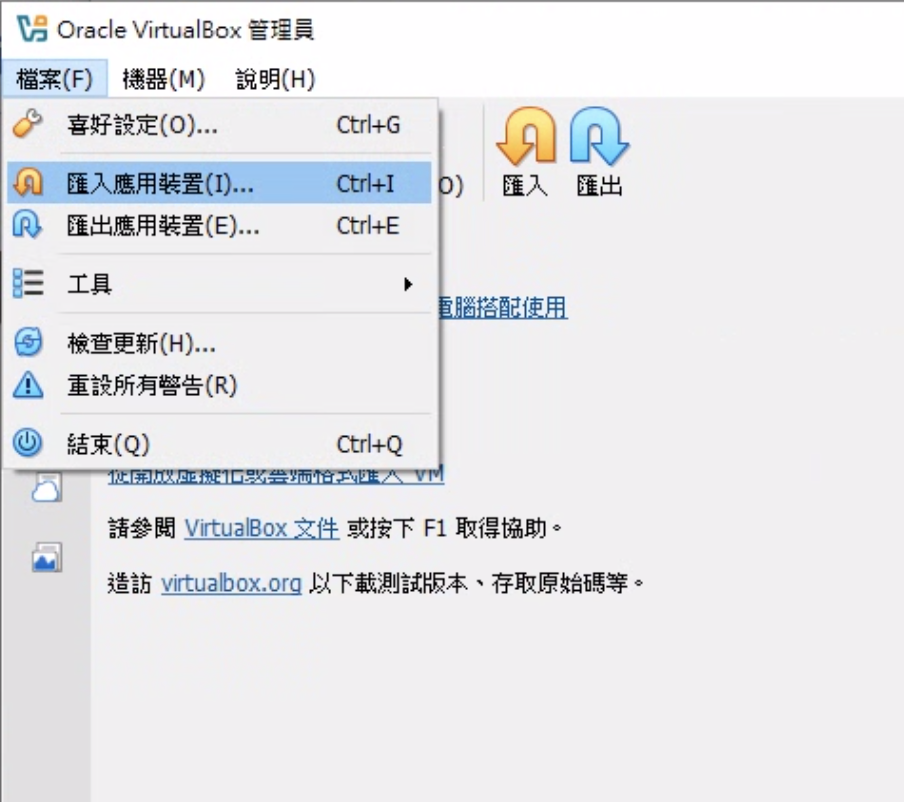
Import VM into VirtualBox
Open VirtualBox and navigate to File → Import Appliance
Click the "Browse" button and select the extracted
GNS3 VM.ovafile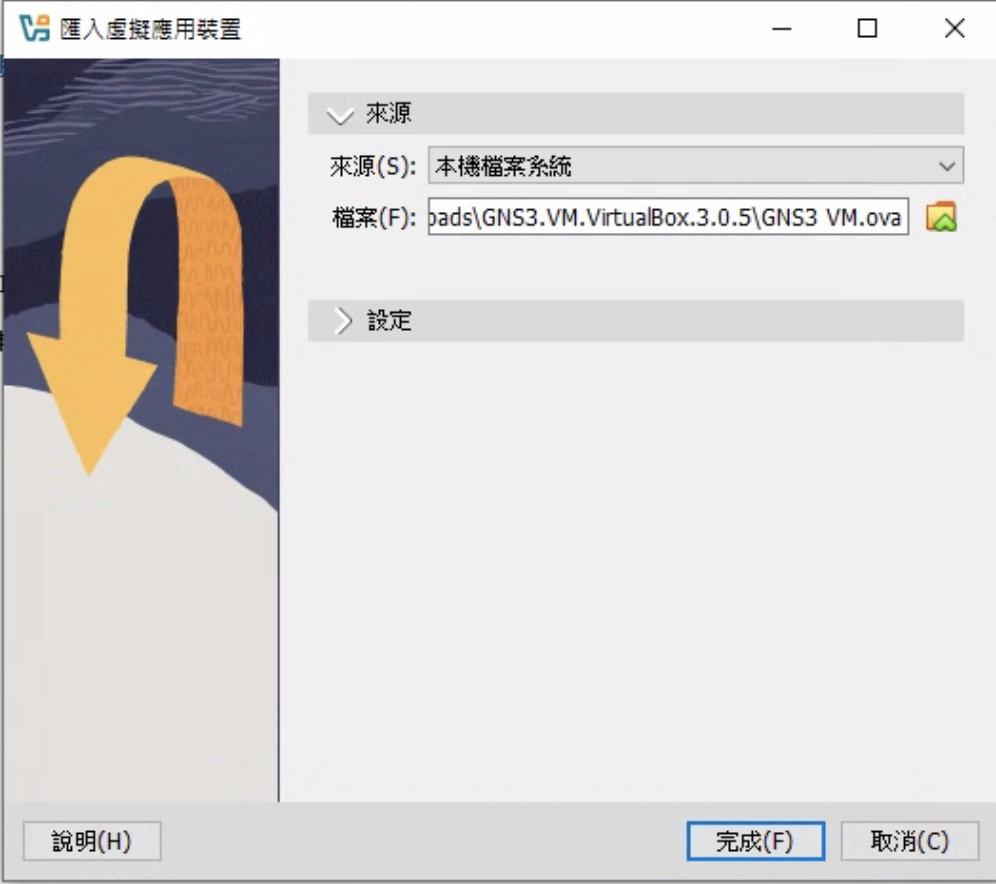
Review and adjust the appliance settings if needed:
- Name: GNS3 VM (you can customize this name if desired)
- CPU: Minimum 2 cores (4 cores recommended for better performance)
- RAM: Minimum 4096 MB (4 GB), 8192 MB (8 GB) recommended for complex topologies
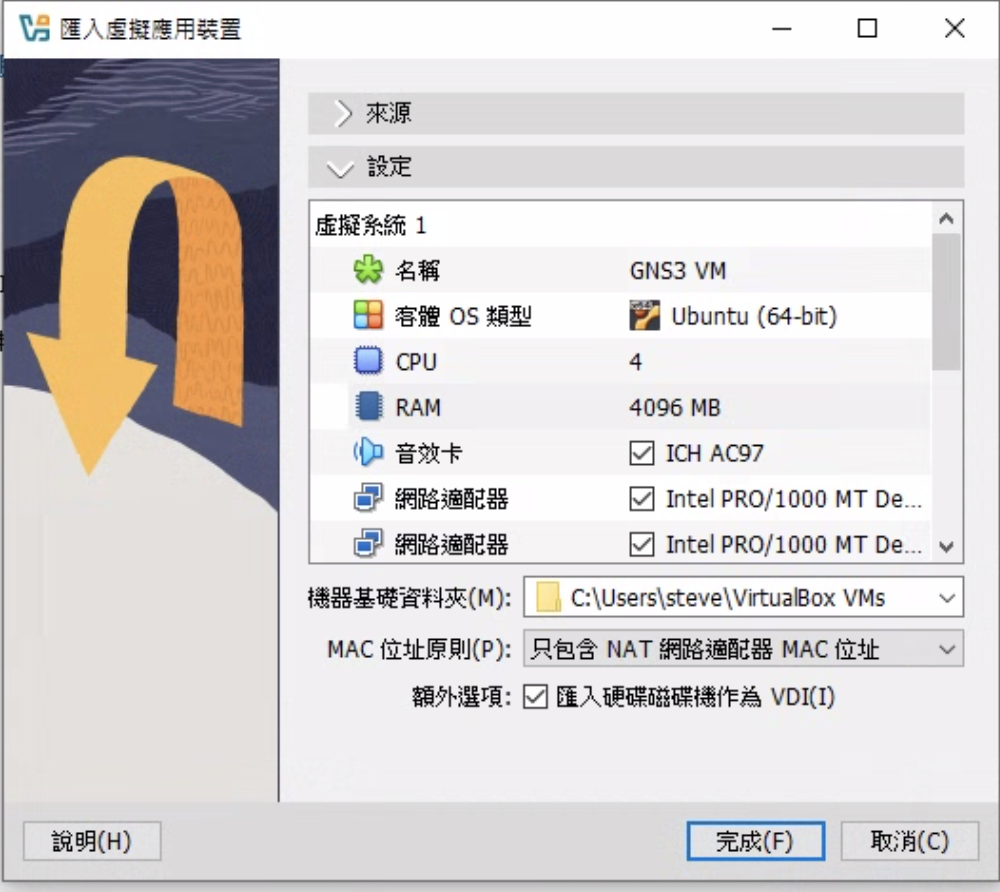
Click "Import" and wait for the import process to complete (this may take several minutes)
Configure VM Settings
After the import completes, select the GNS3 VM in VirtualBox and click "Settings"
Navigate to the Network section:
- Ensure that Adapter 1 is enabled
- Set "Attached to" to Bridged Adapter (recommended for better connectivity) or NAT
- Bridged Adapter: Allows the VM to obtain an IP address on your local network, making it easier to connect
- NAT: The VM will access the network through your host machine (may require port forwarding for some scenarios)
(Optional) Configure Shared Folders to easily transfer files between your host system and the VM
Click "OK" to save the configuration changes
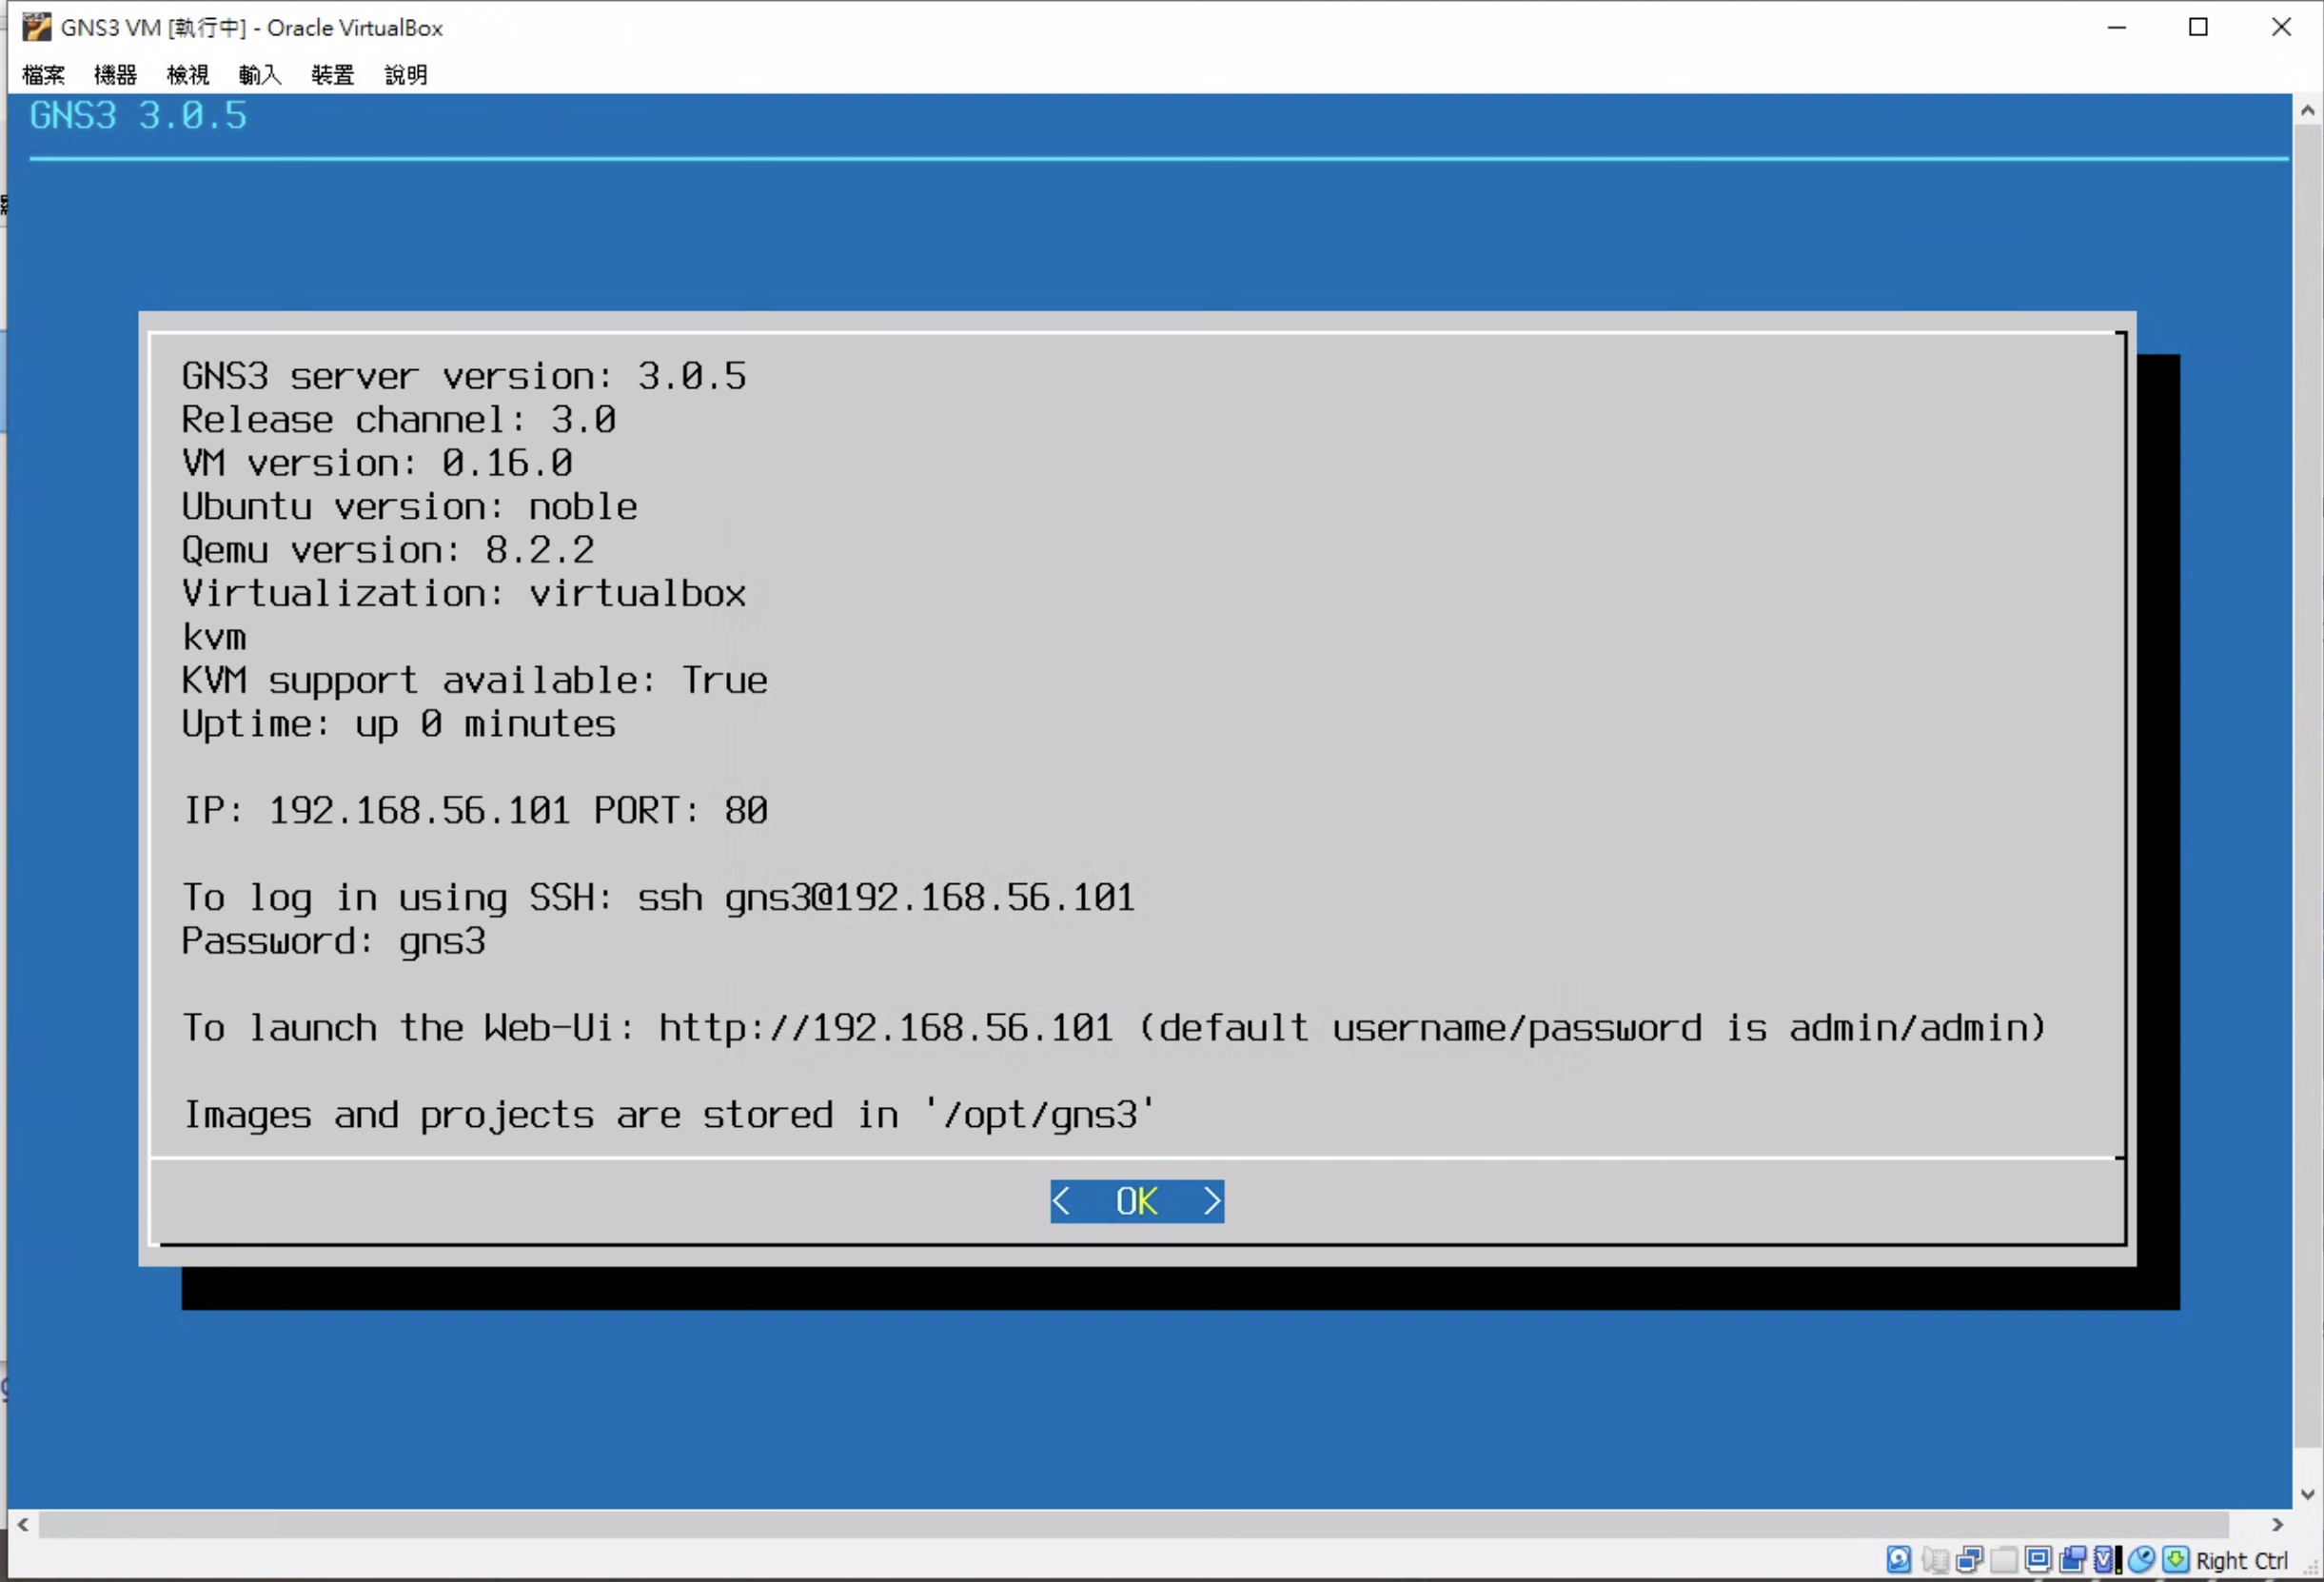
Start the VM
Select the GNS3 VM from the list and click "Start"
Wait for the VM to boot completely (this typically takes 1-2 minutes)
Once booted, the GNS3 VM console will display network information including the IP address, port, and connection status
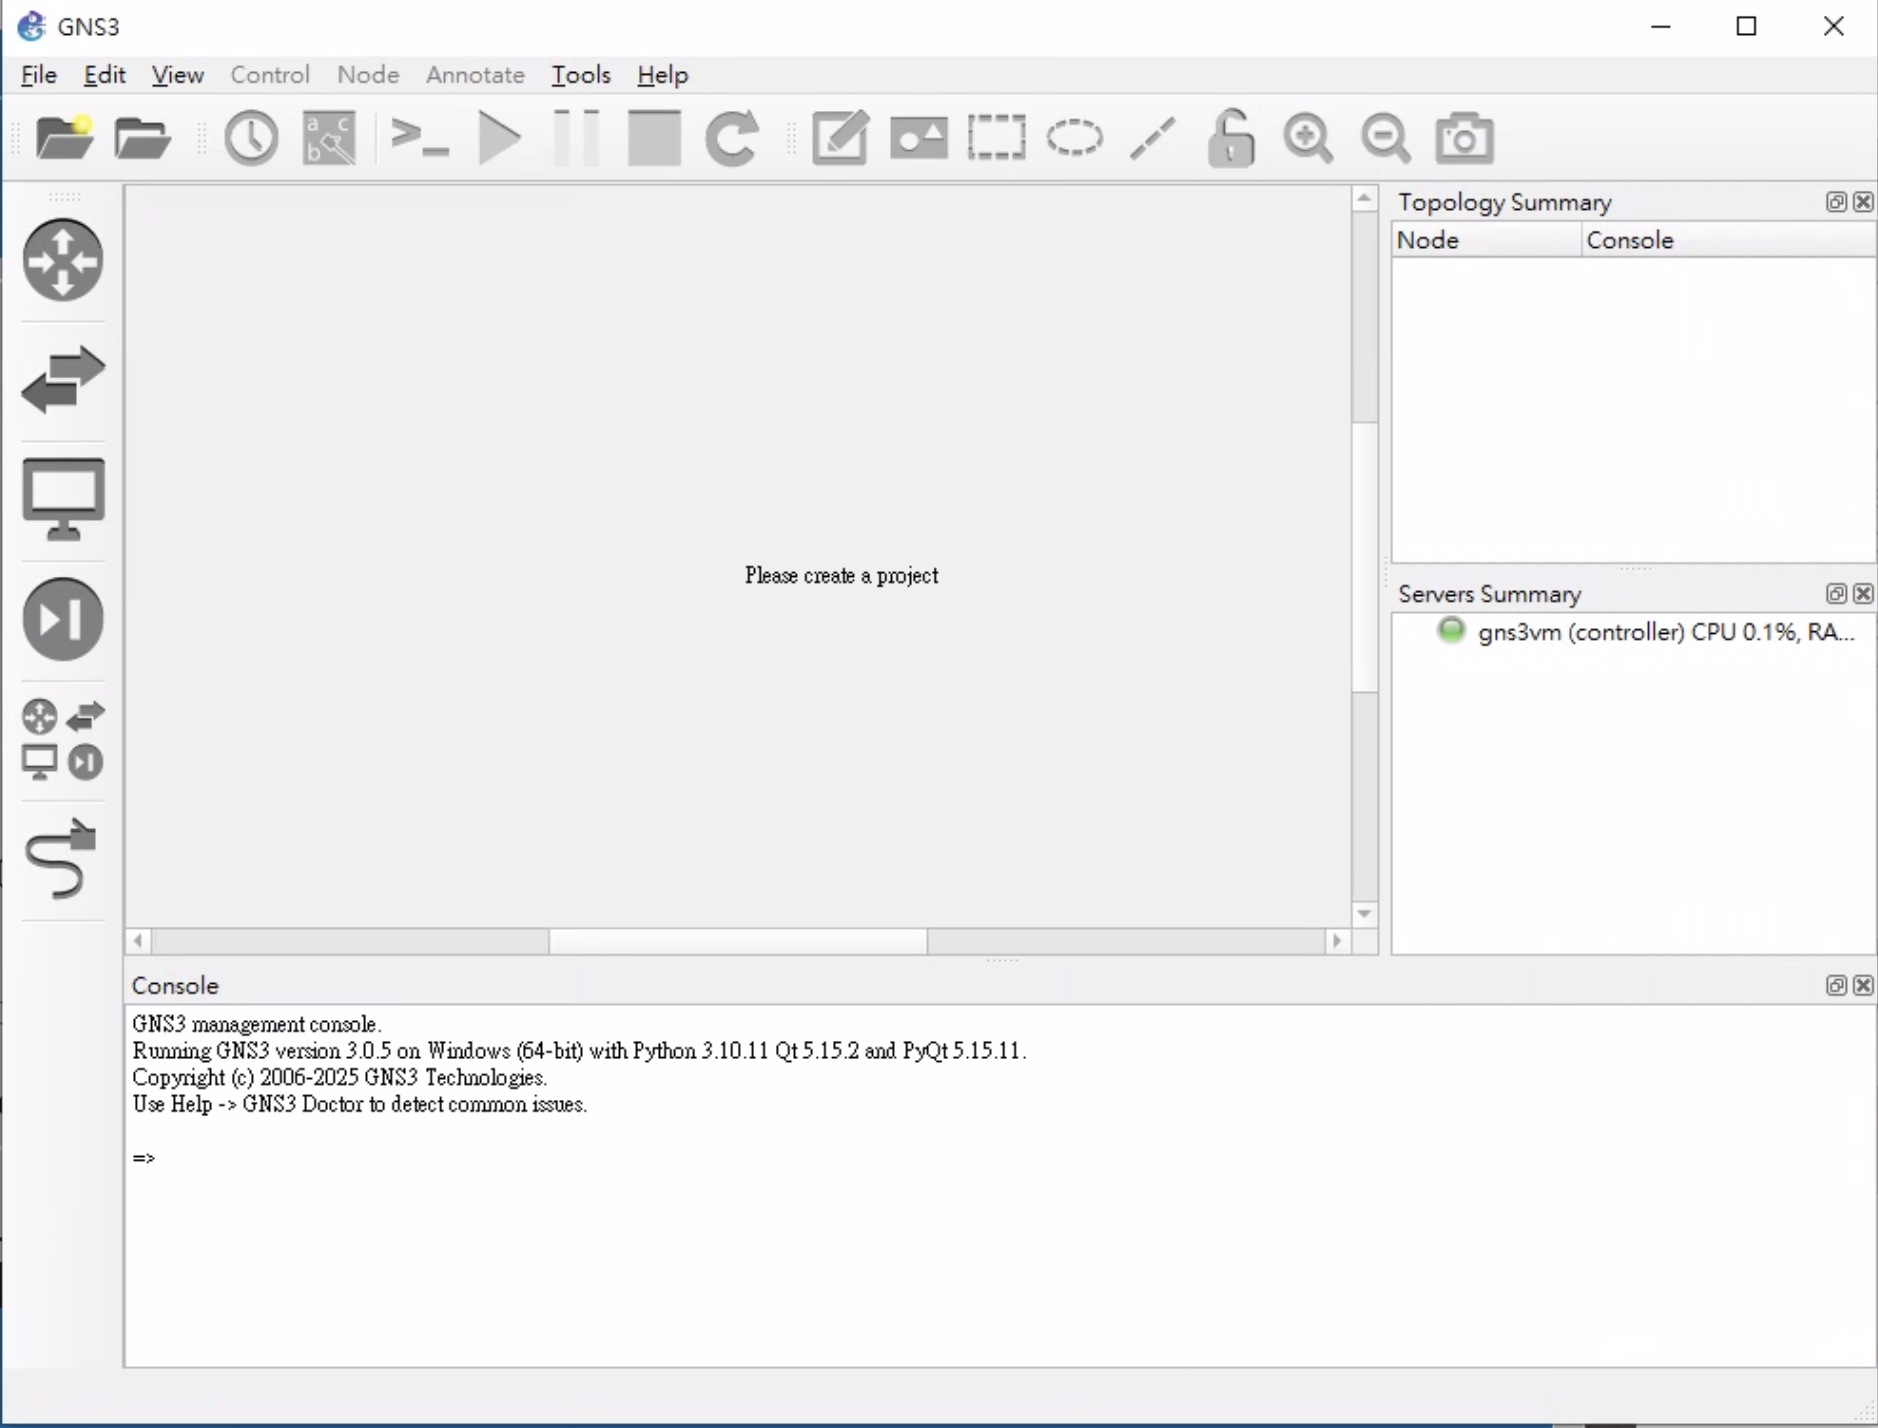
Launch GNS3
Launch the GNS3 application
- On first launch, the Setup Wizard will automatically appear to guide you through the initial configuration
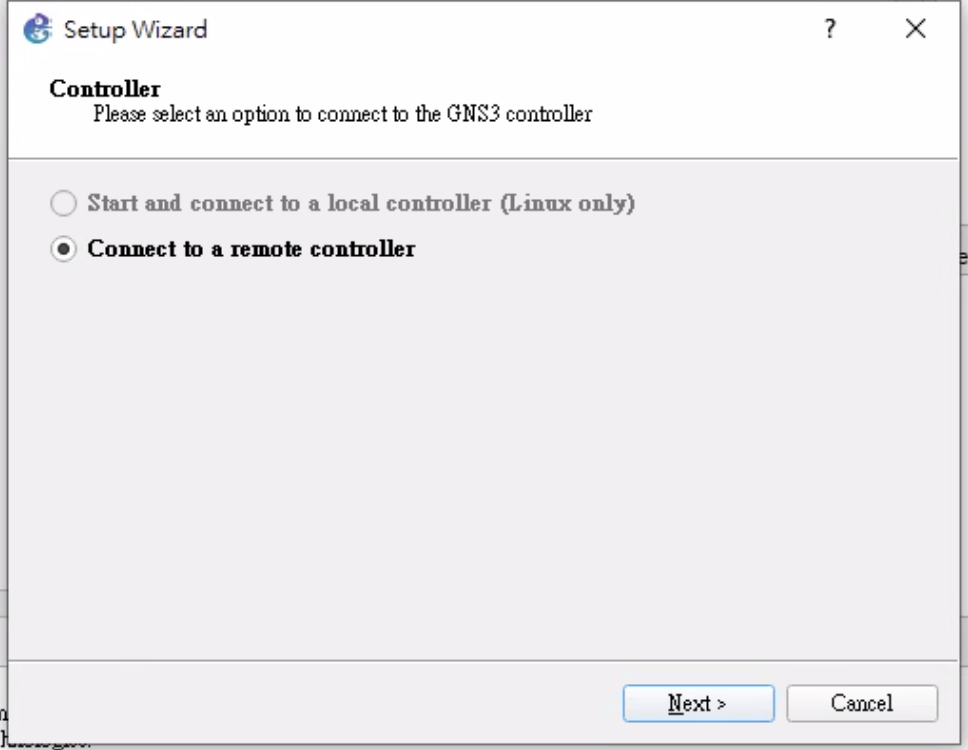
Configure the GNS3 VM connection settings
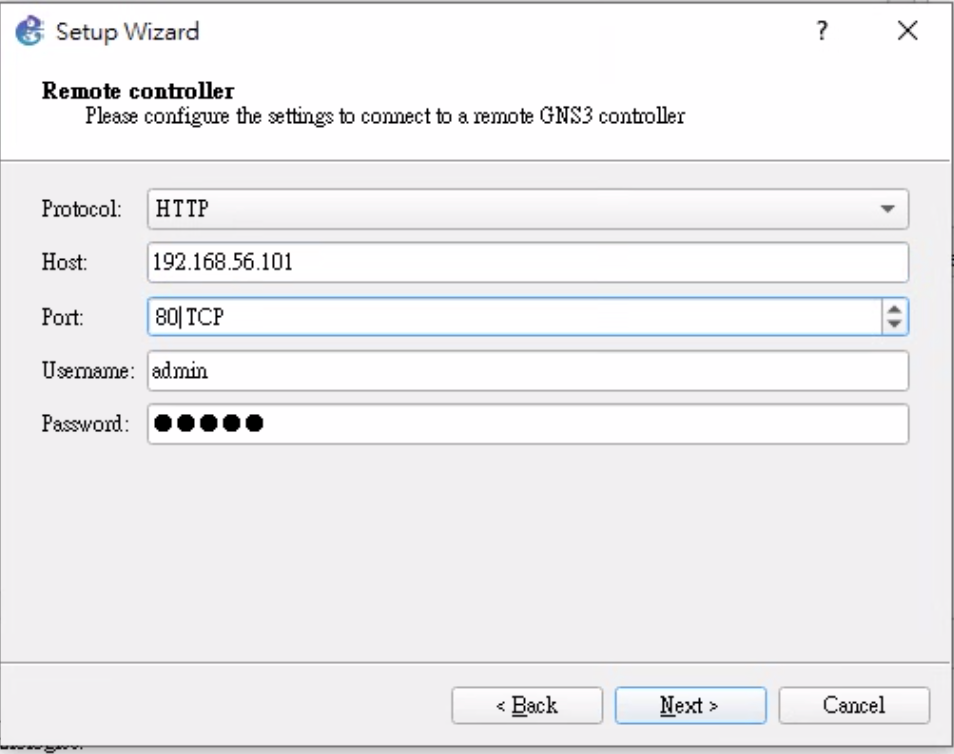
Complete the setup wizard
- Review your settings and click "Finish"
- You're now ready to start using GNS3!